7 Supplies Every Macrame Artist Needs
This post may contain affiliate links, which means that I may receive a commission if you make a purchase using these links. As an Affiliate, I earn from qualifying purchases but this comes at no extra cost to you.
I am sure you are here because you have stumbled upon several gorgeous macrame creations online and want to try it for yourself. Well lucky for you, I have created a list of all the items you will need to start on your macrame journey!
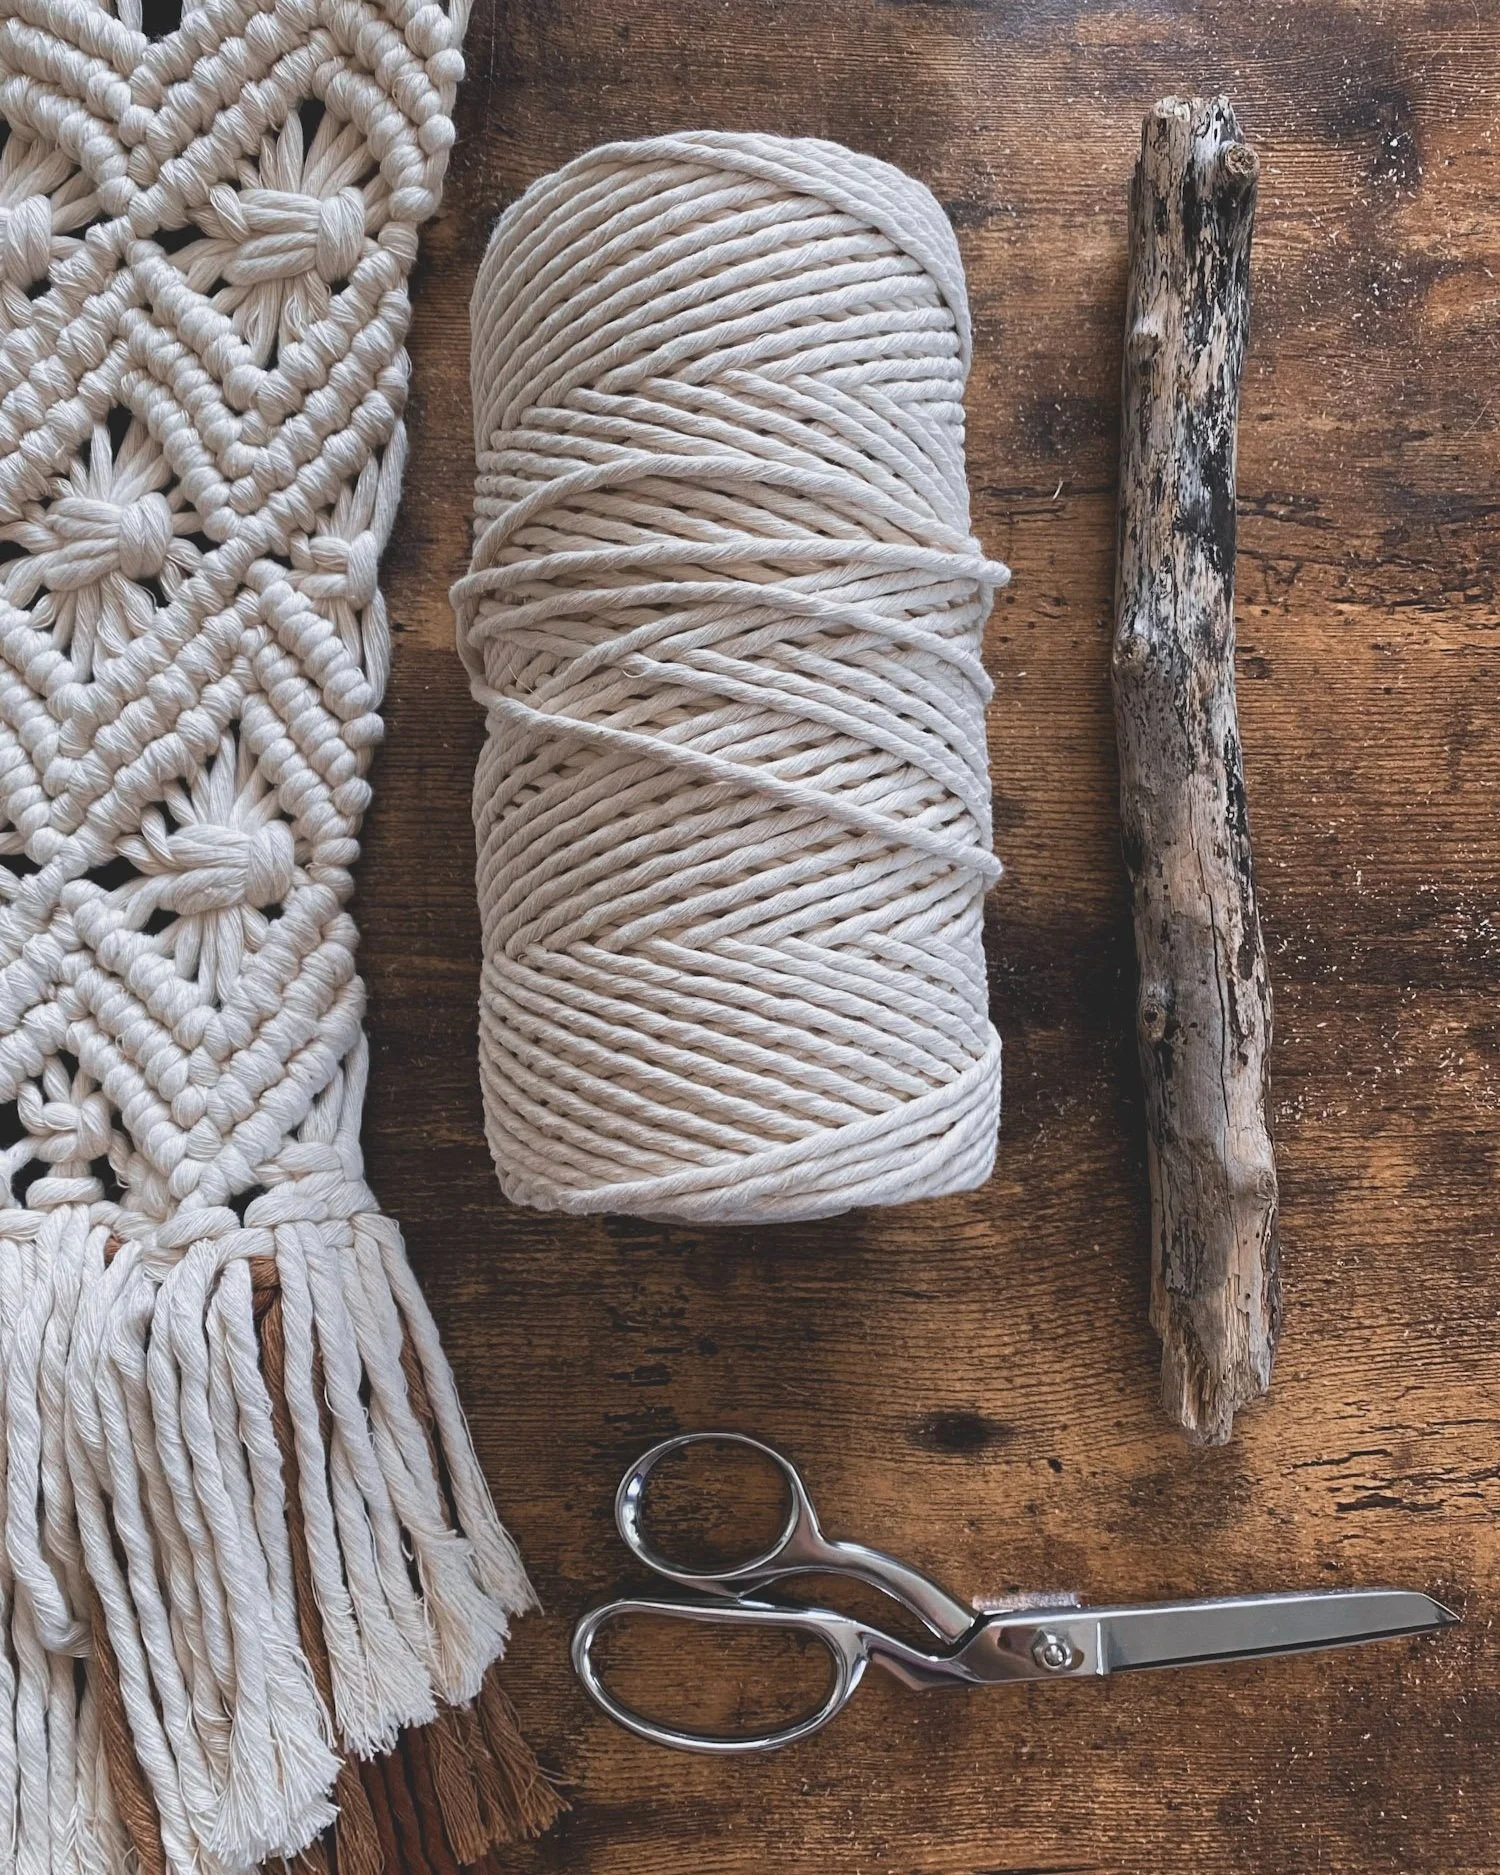
First off, you will need some macrame rope and/or cord.

What is the difference you may ask? Well let me tell you! Macrame rope is typically comprised of several strands of fiber twisted together; typically sold as 3-ply rope (not pictured above). This rope is more sturdy and often used for plant hangers. It is a great rope for beginners because it holds its structure well even if it has been tied and untied several times.
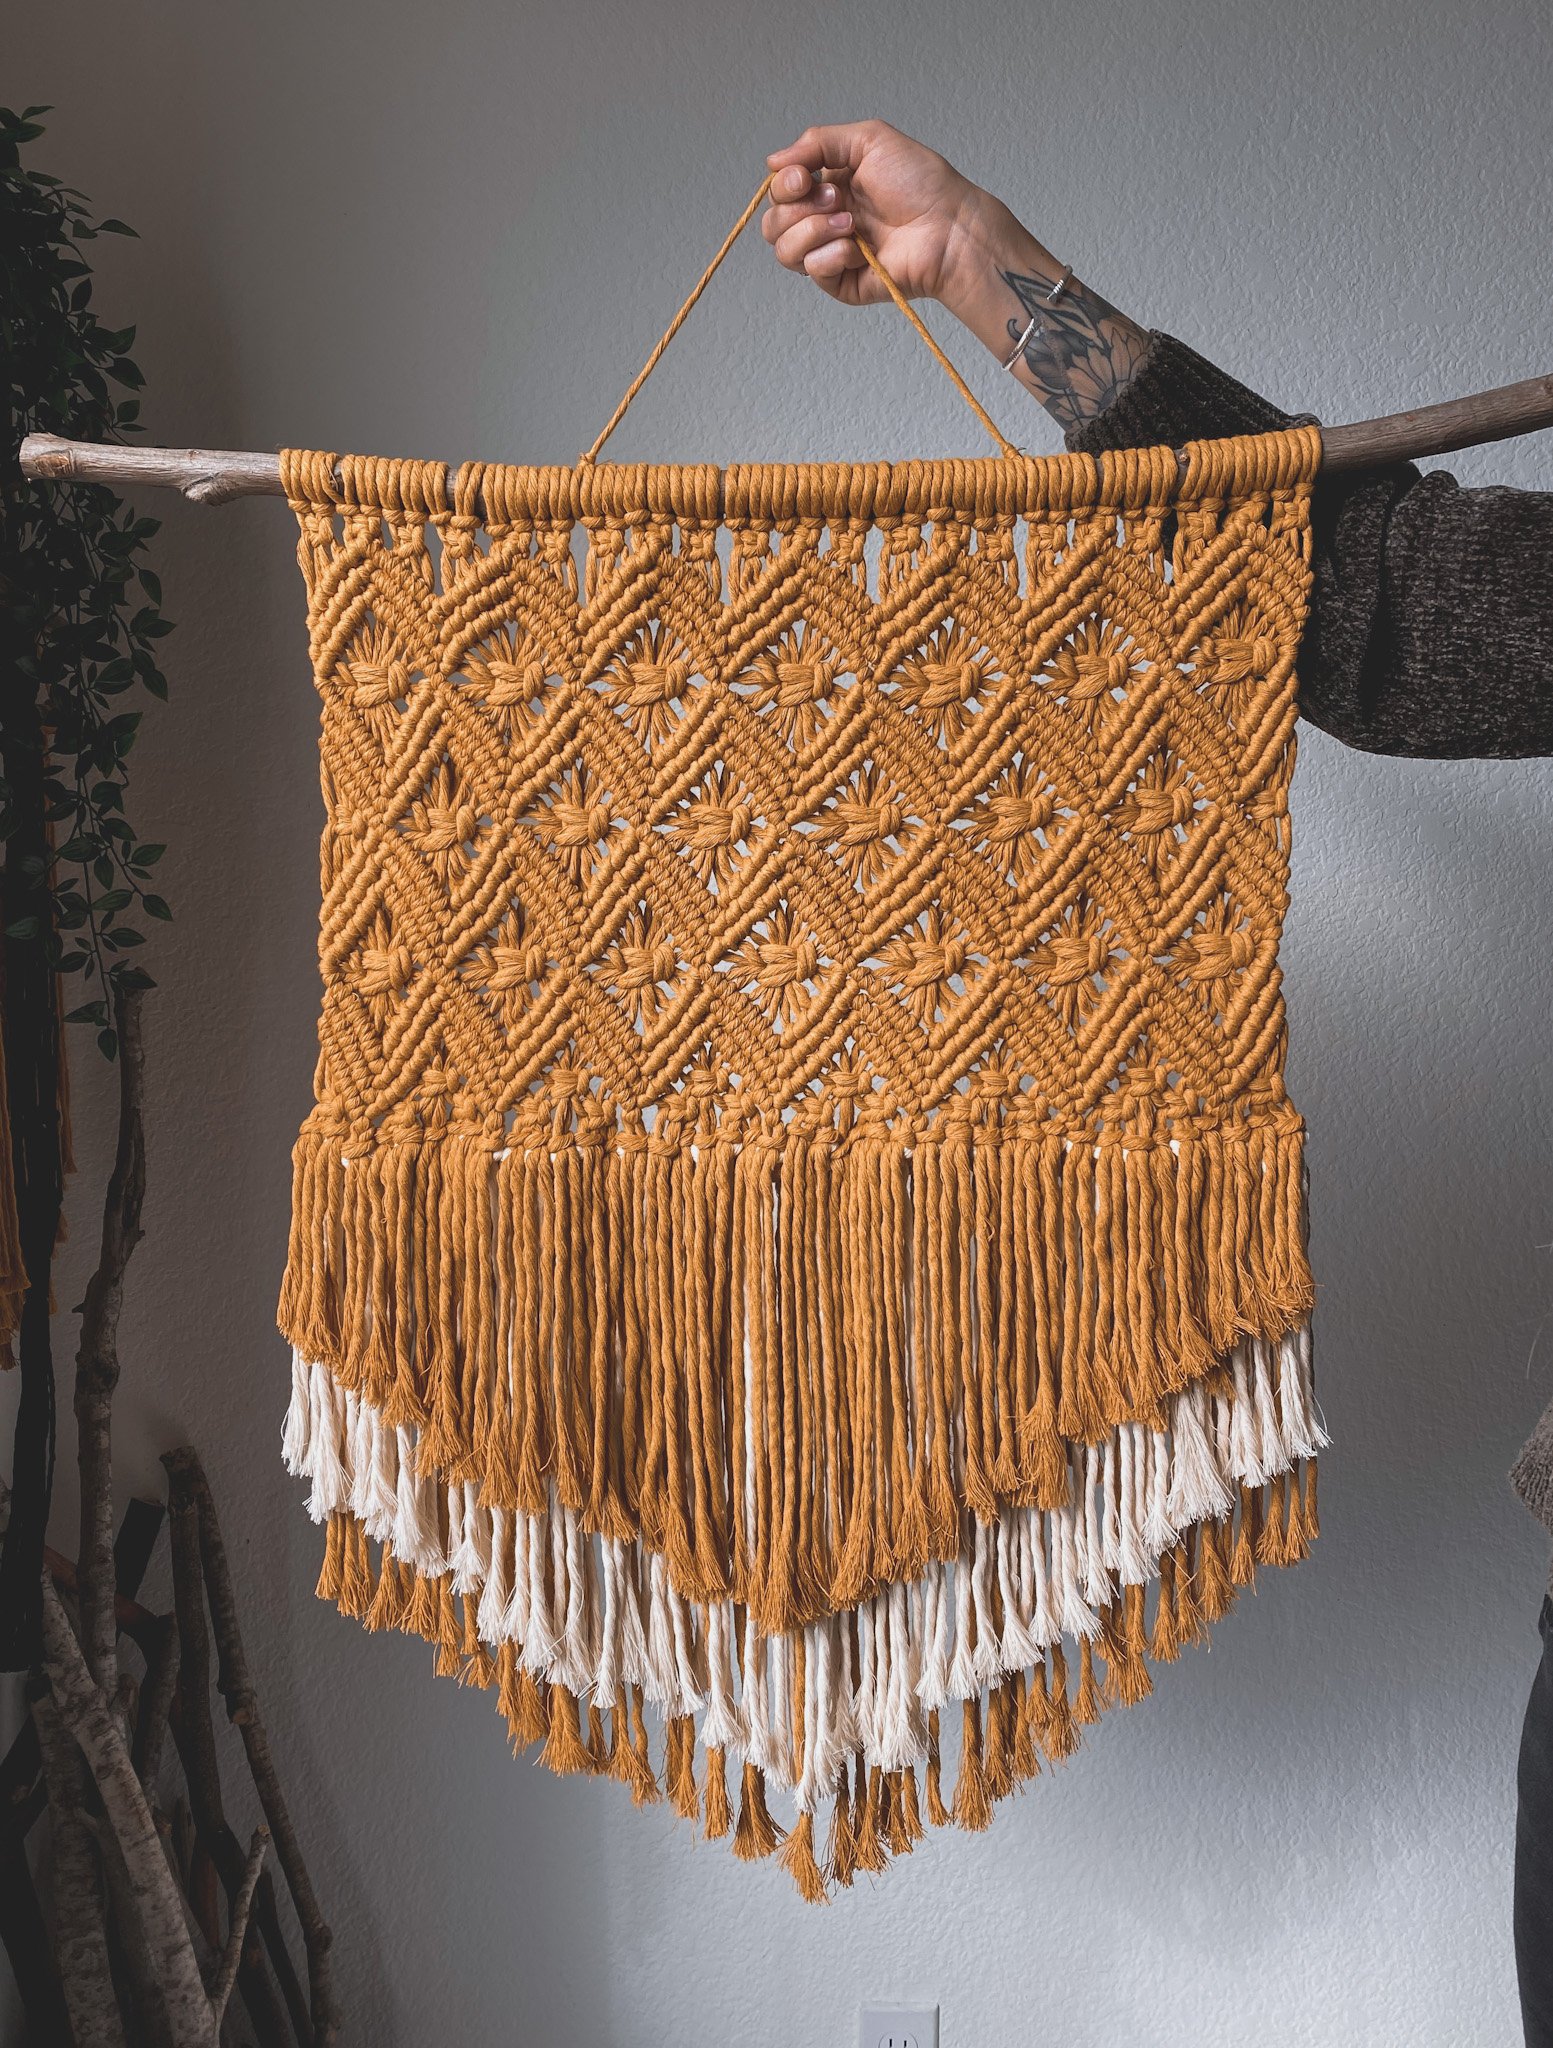
Macrame cord, also known as string, on the other hand is much more soft and typically used for creating wall hangings. I personally prefer single strand cord for all my macrame creations including plant hangers, wall hangings, and key chains. Although I prefer cord, I use rope when I am wanting to add more texture to my wall hangings by unraveling the rope to cause a wavy fringe affect.
There are also a variety of rope and cord sizes you can buy. I typically purchase 5mm and 3mm single strand cord for my wall hangings. If you are planning to create a larger wall hanging and like the thicker look, 5mm is the way to go. If you are working on a smaller - medium sized wall hanging and want more detail in the knots, I recommend using 3mm cord. Below is the difference between the two sizes when used in a wall hanging.
My favorite natural cotton cord to use is this “super soft 5mm natural string” & this “super soft 3mm natural string”.
2. Next thing you will need is a good pair of Fabric Scissors.
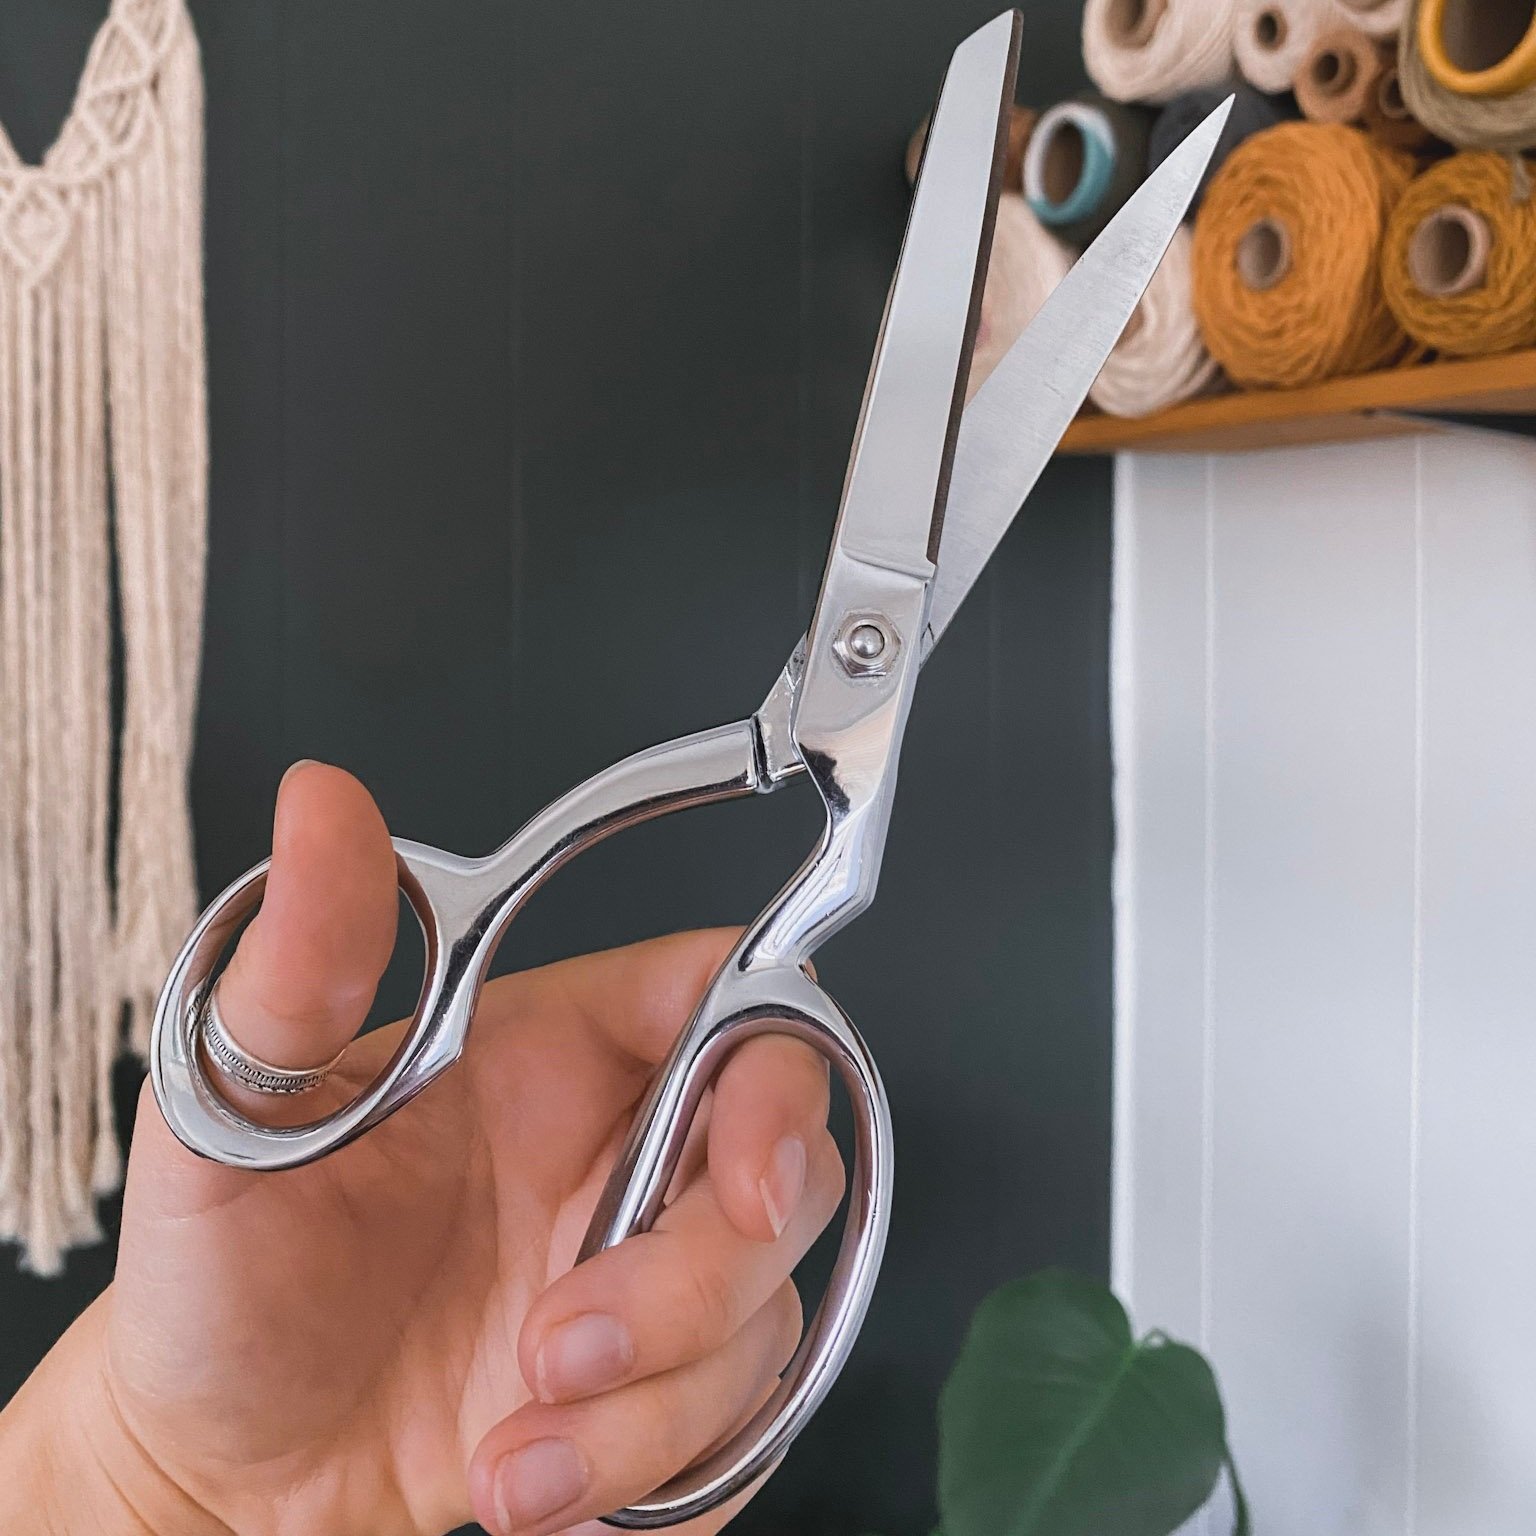
Trust me, a good pair of fabric scissors is worth the investment! I have tried several pairs and these from Amazon are by far my favorite!
Pro tip: Only using your fabric scissors on macrame rope will extend the life of them. Nothing is worse than a dull pair of scissors when you are trying to cut perfect fringe on your wall hanging. I have had mine for about two years now and they still work very well.
If you still need convincing, this macrame scissor asmr video should do the trick!
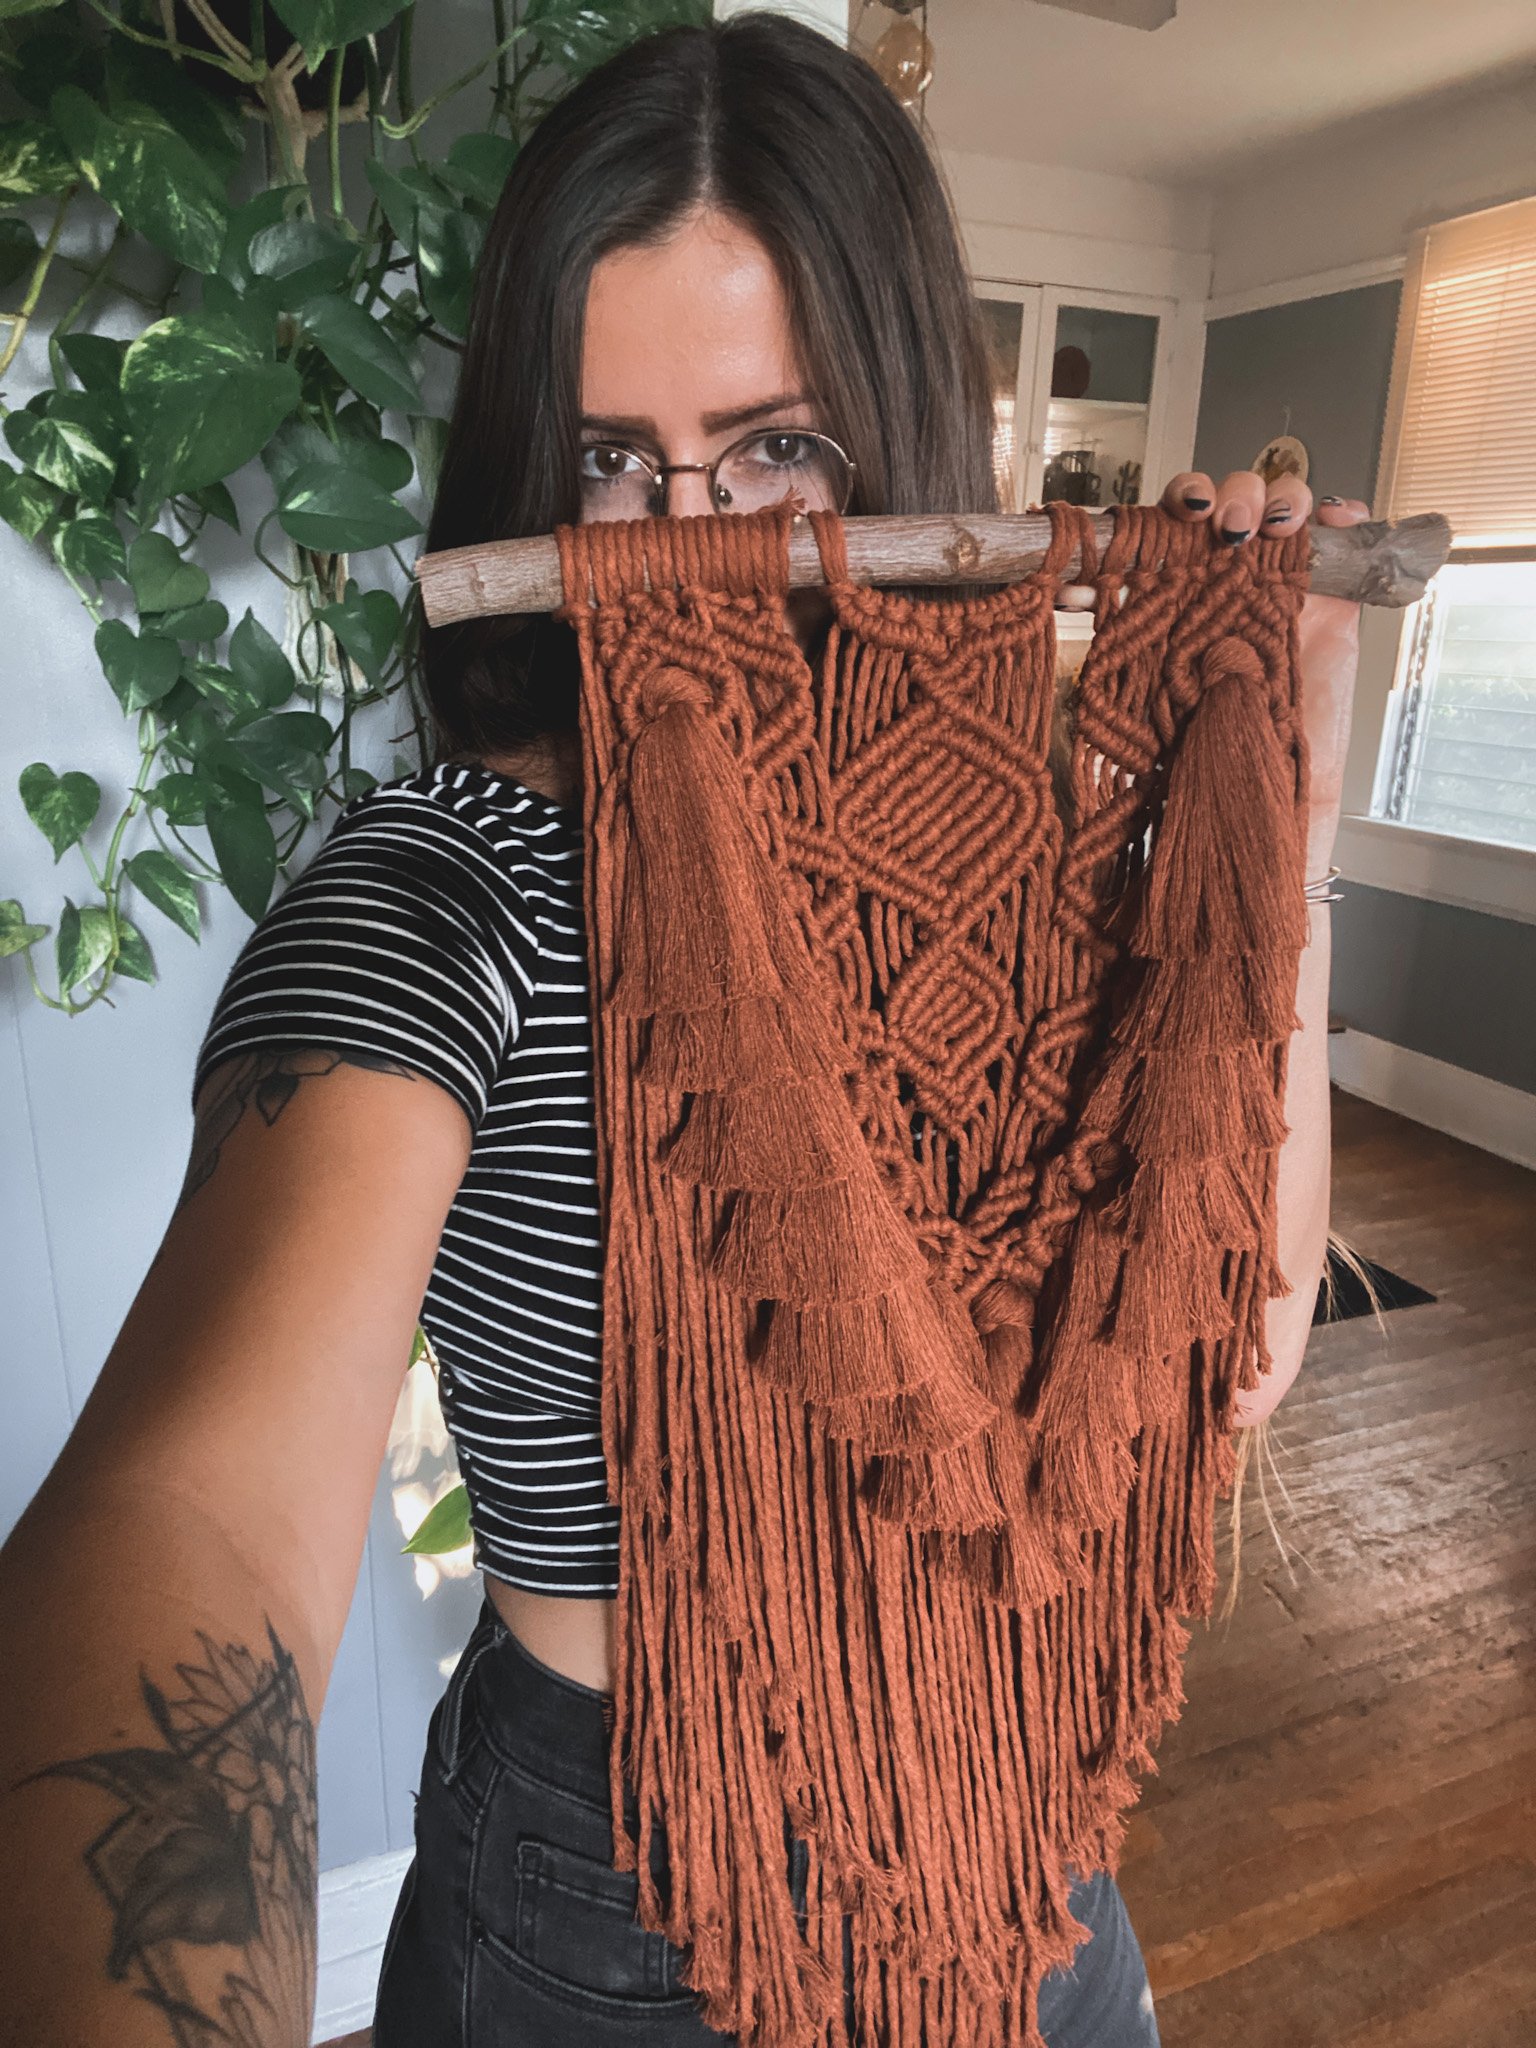
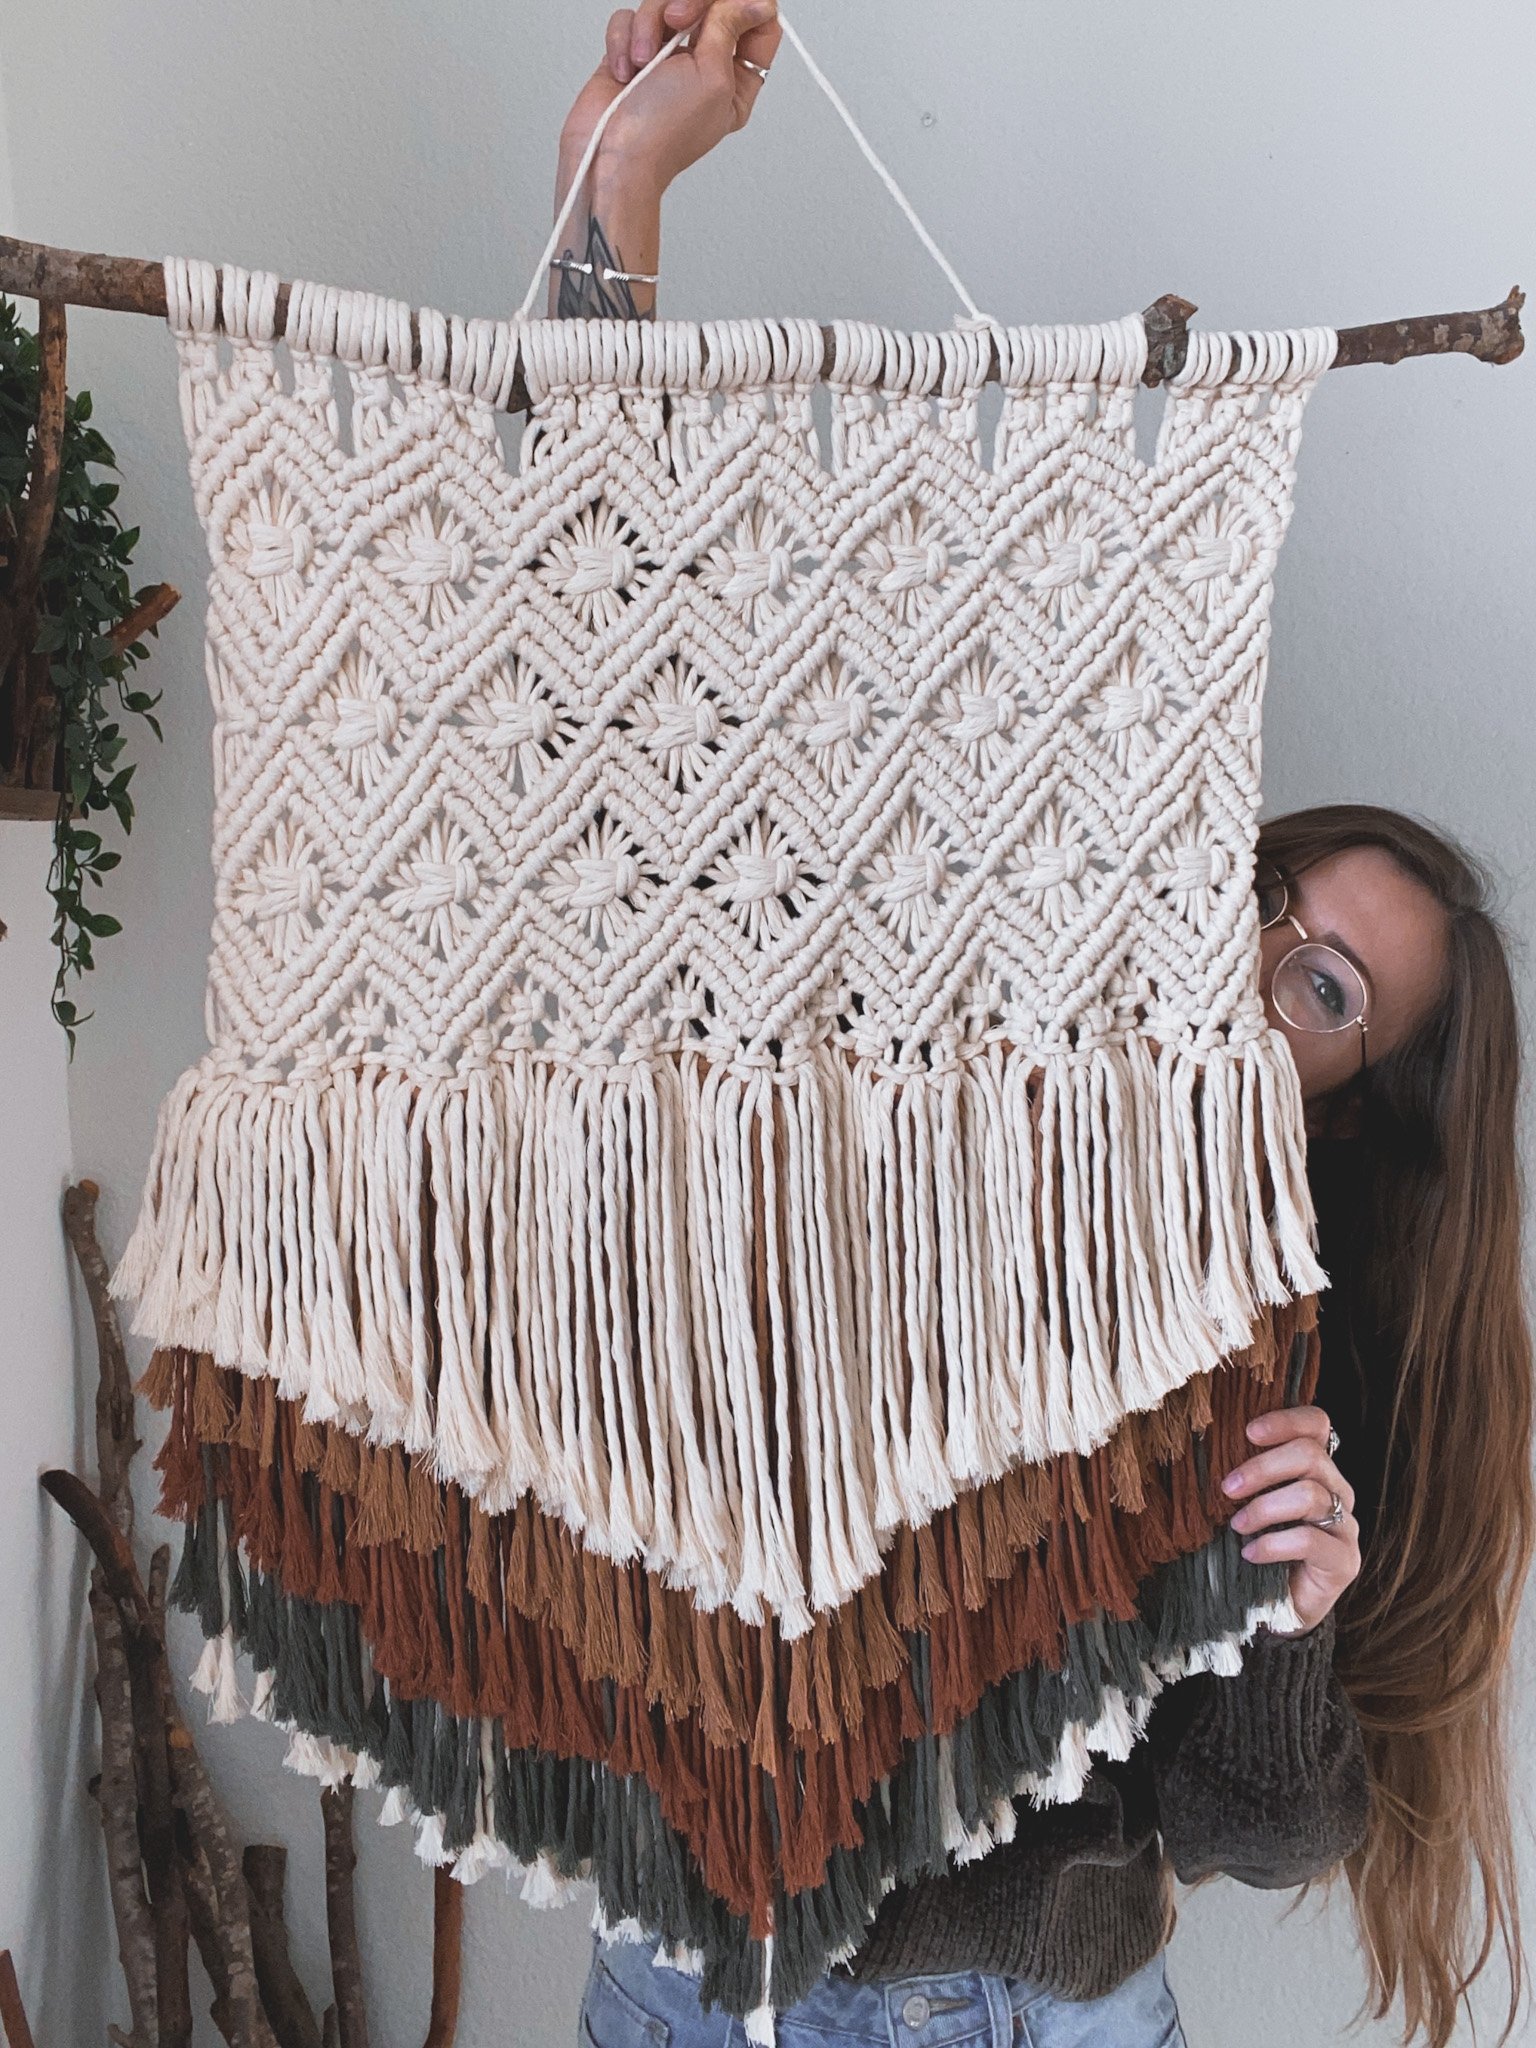
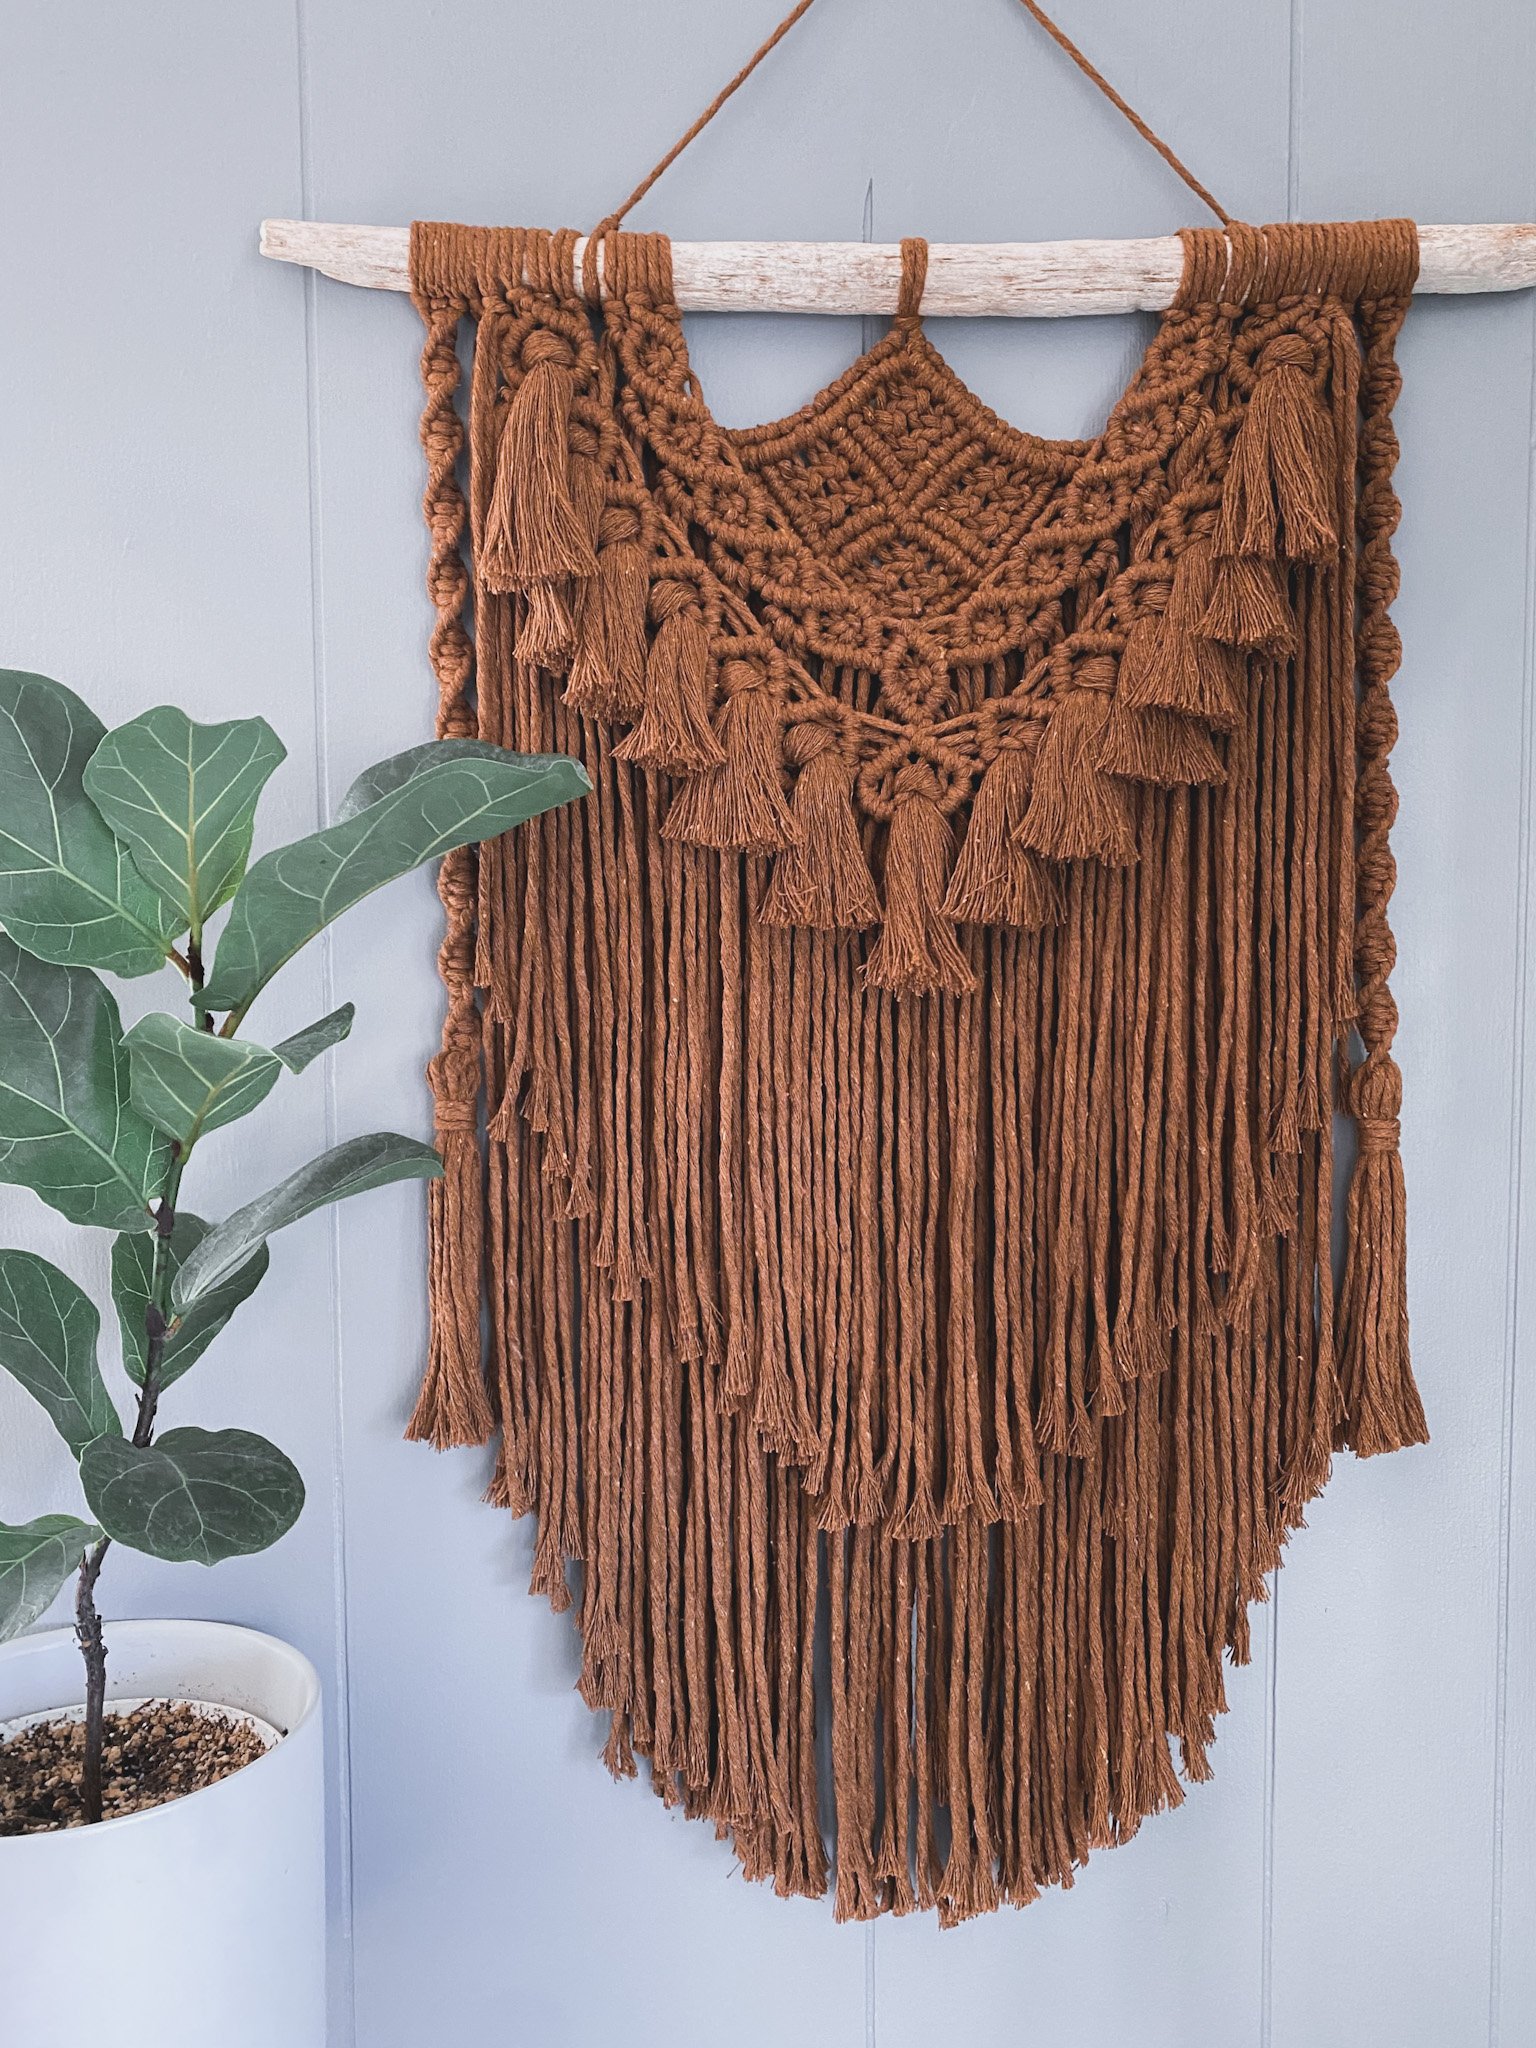
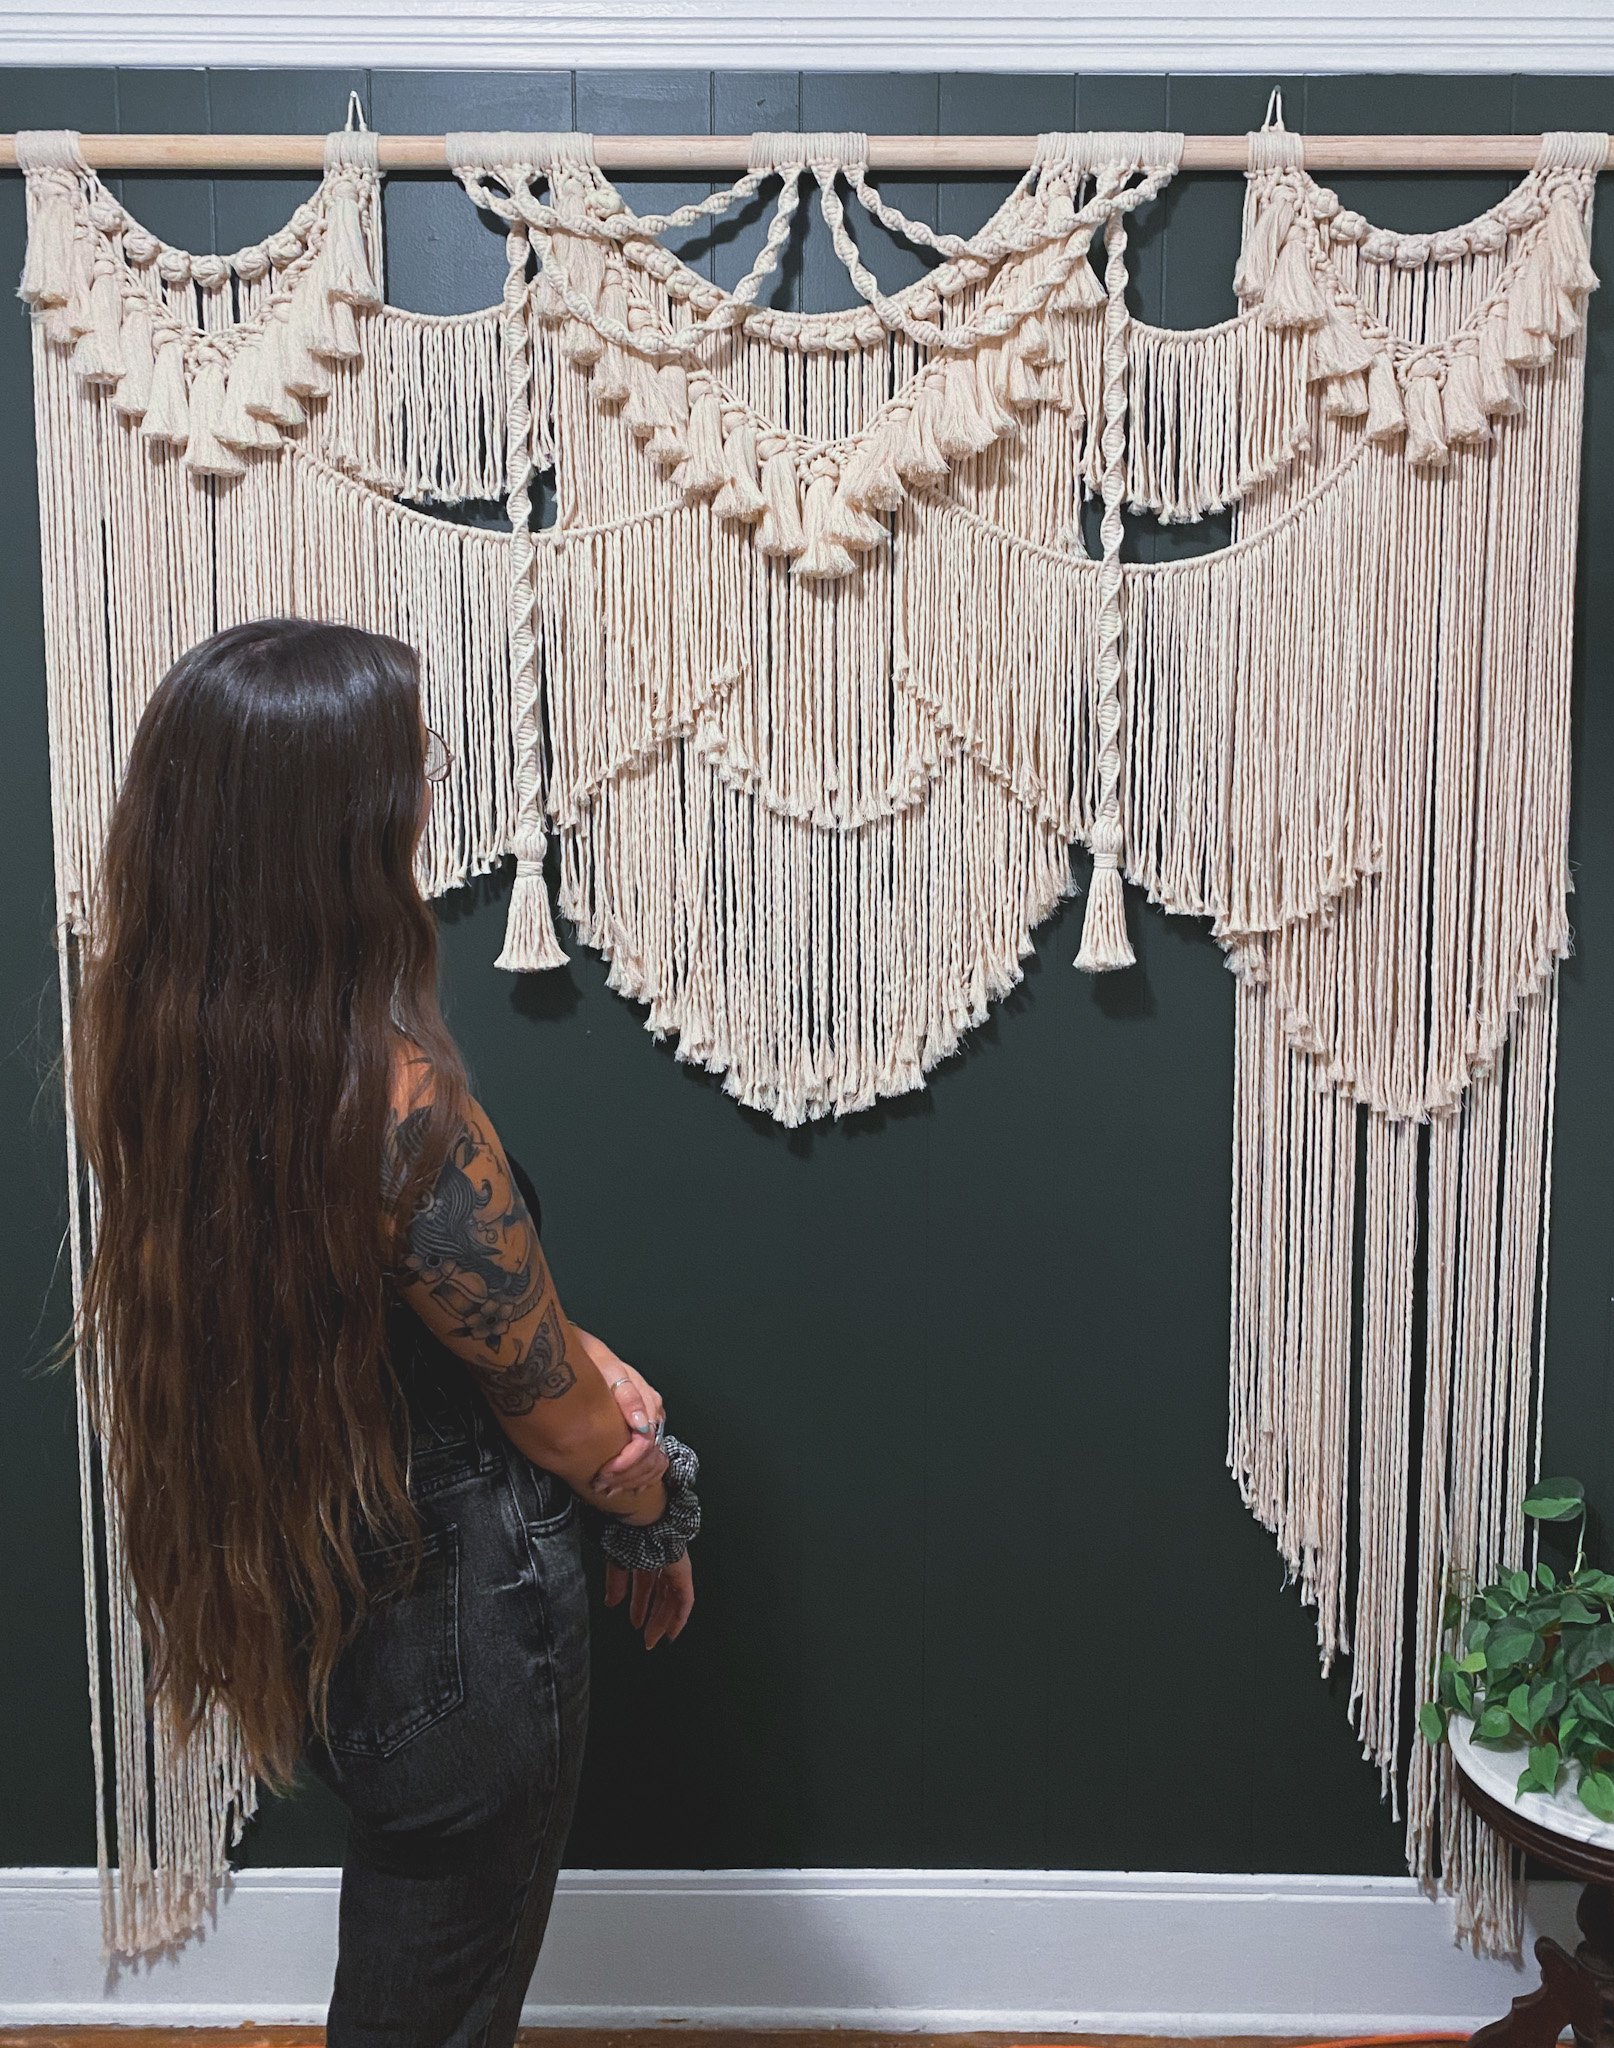
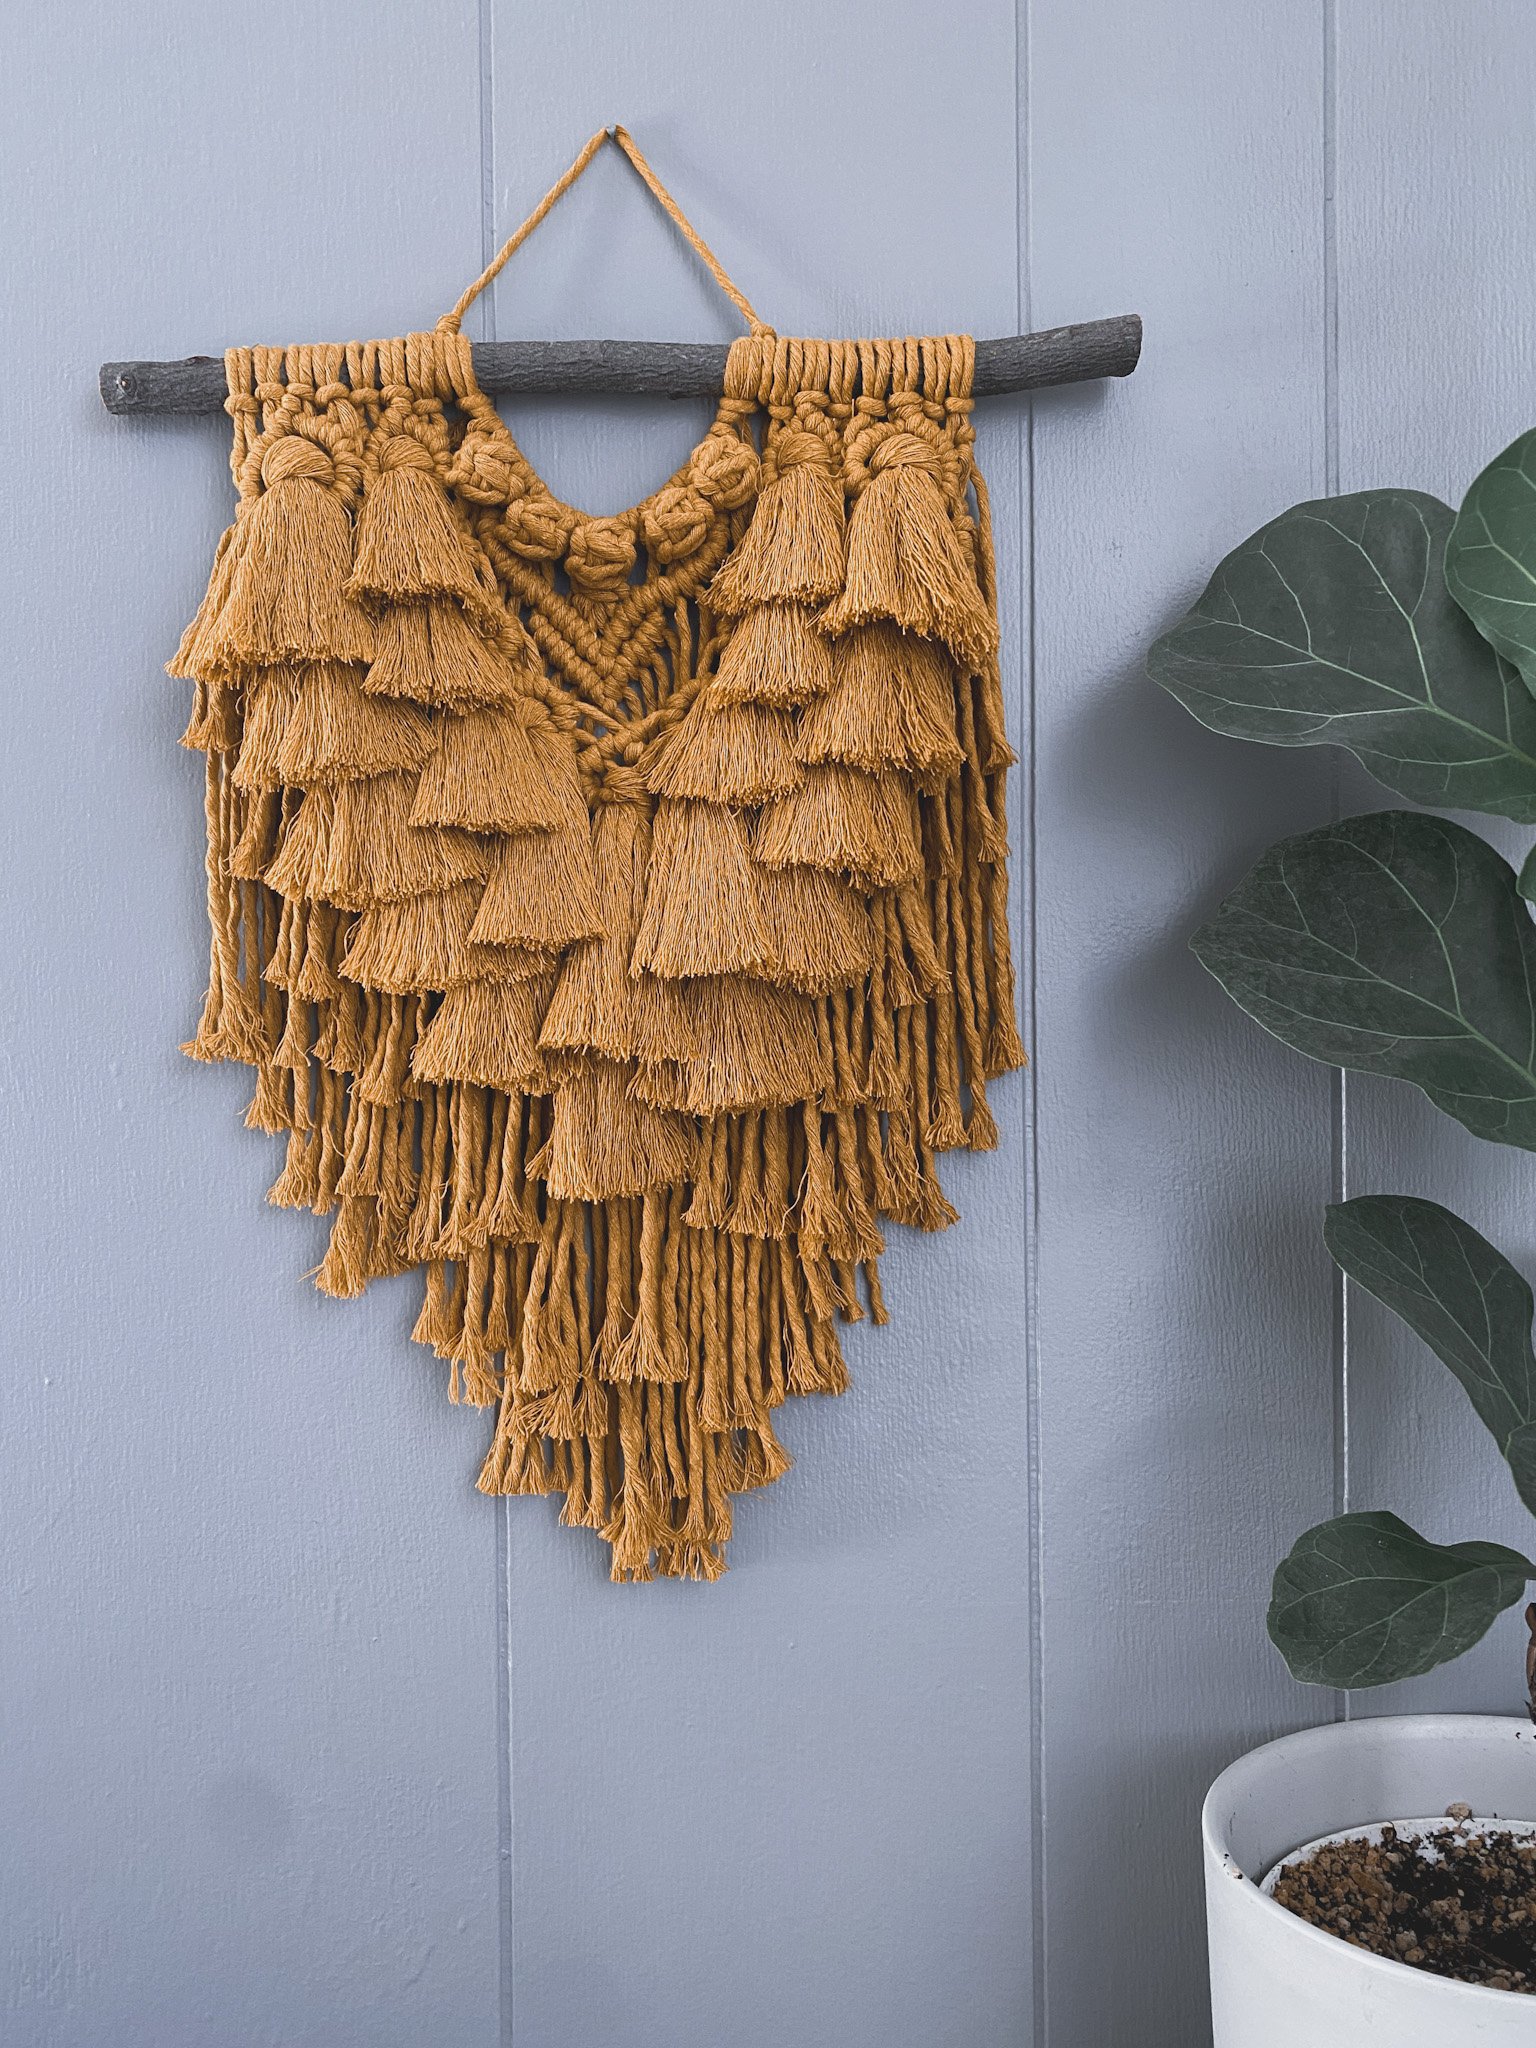
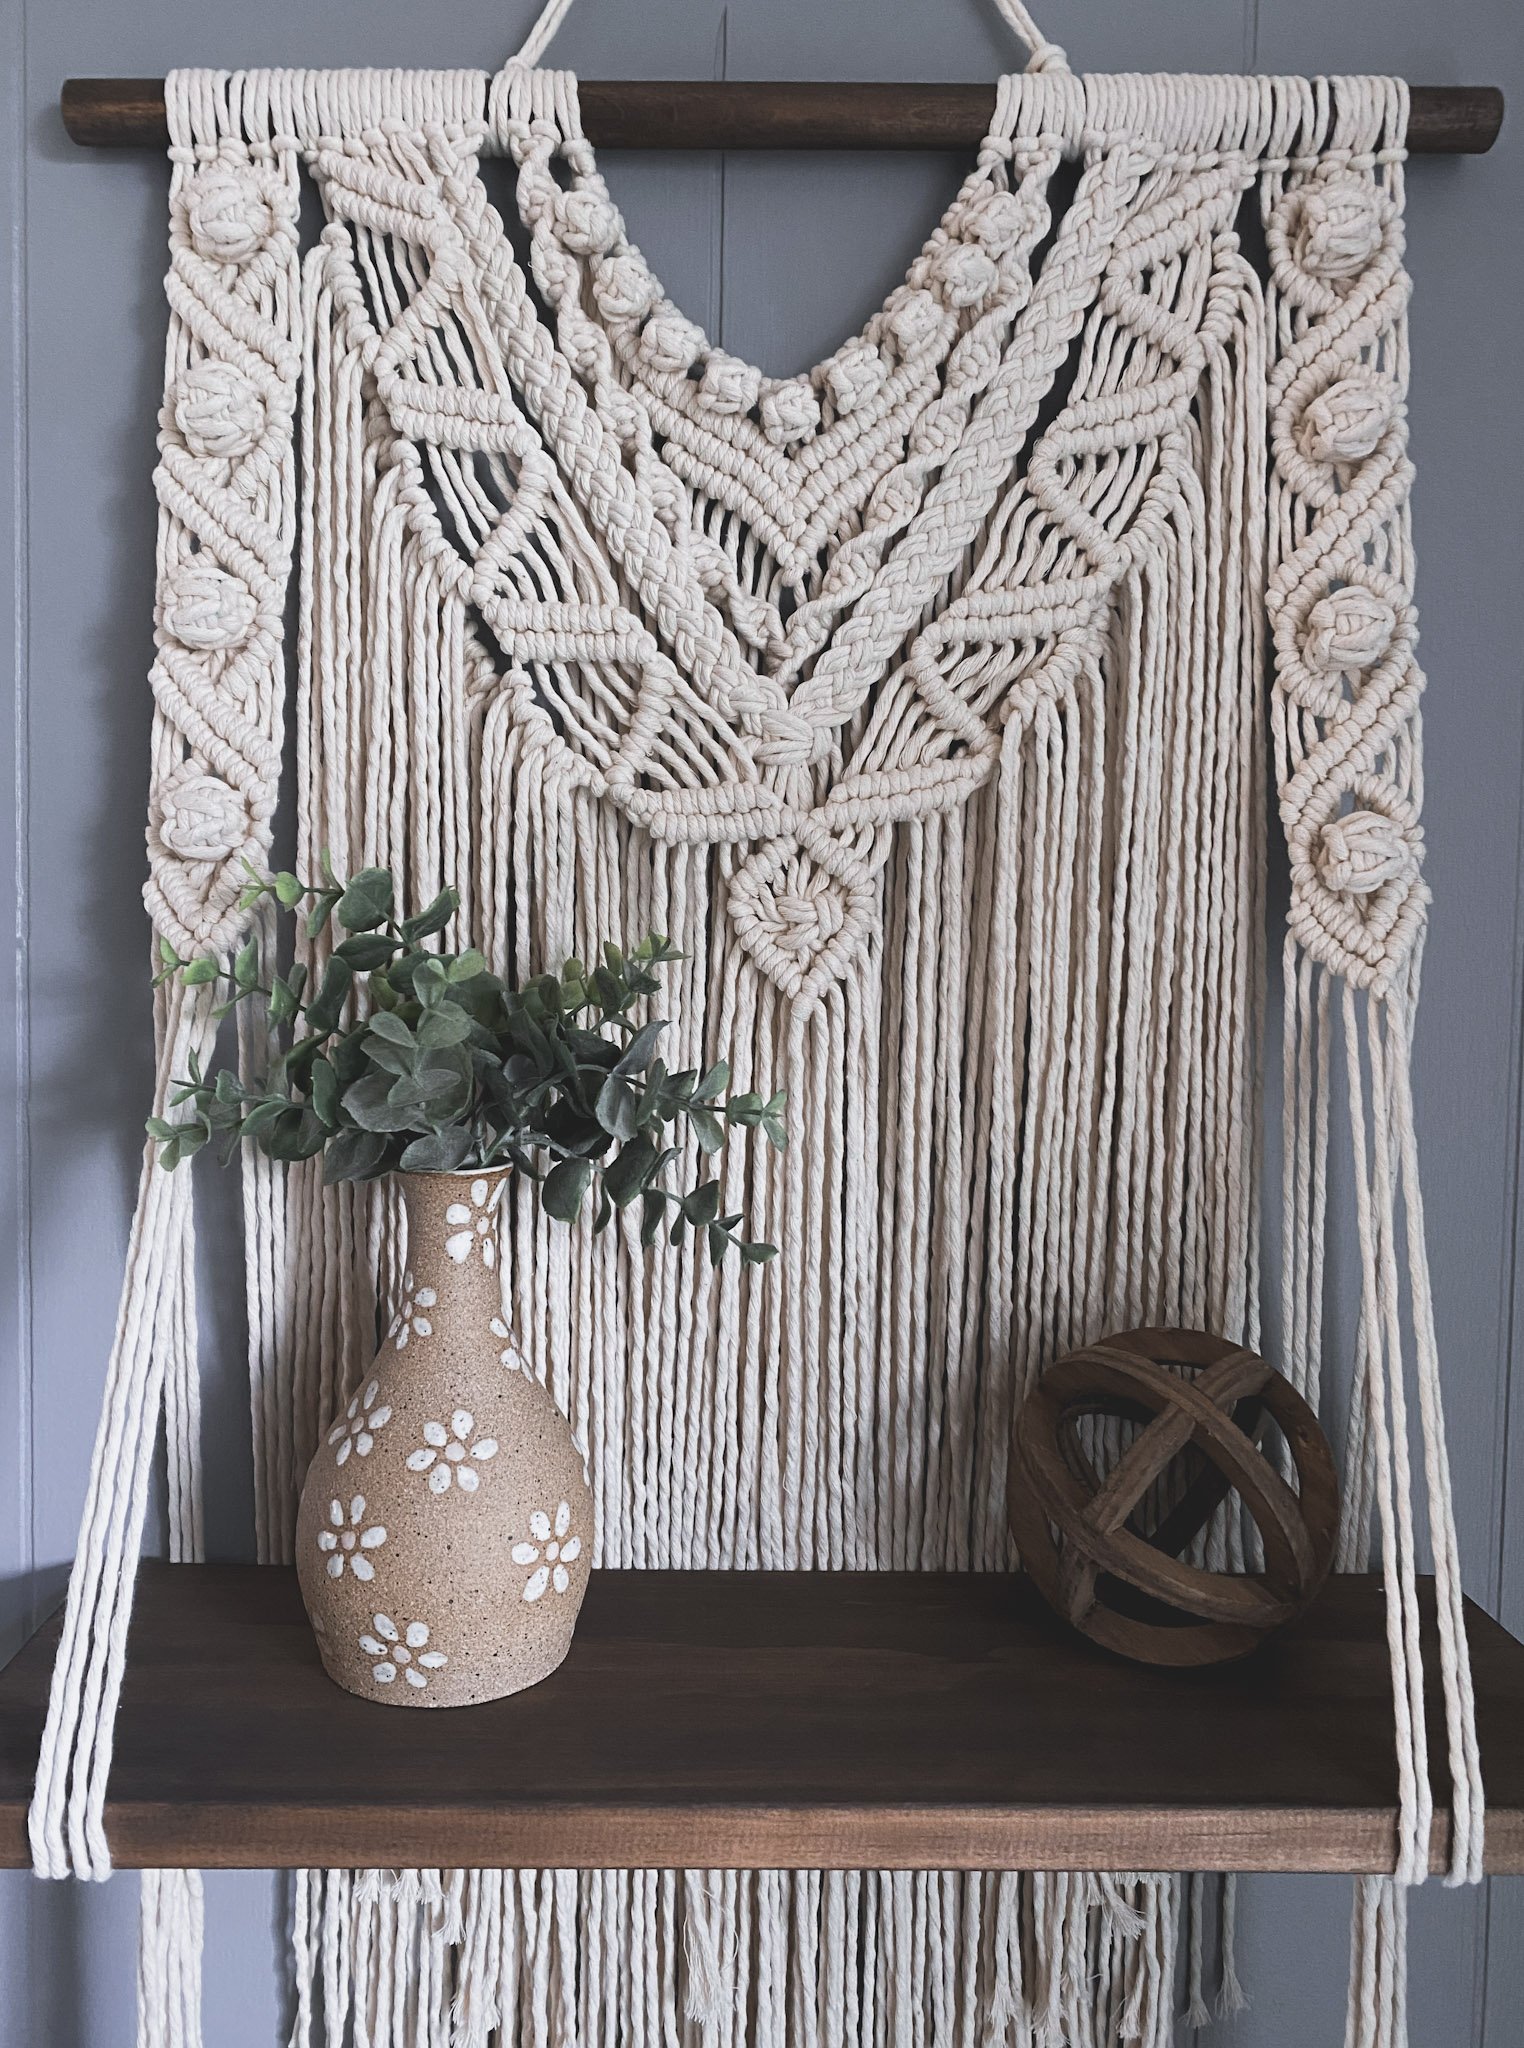
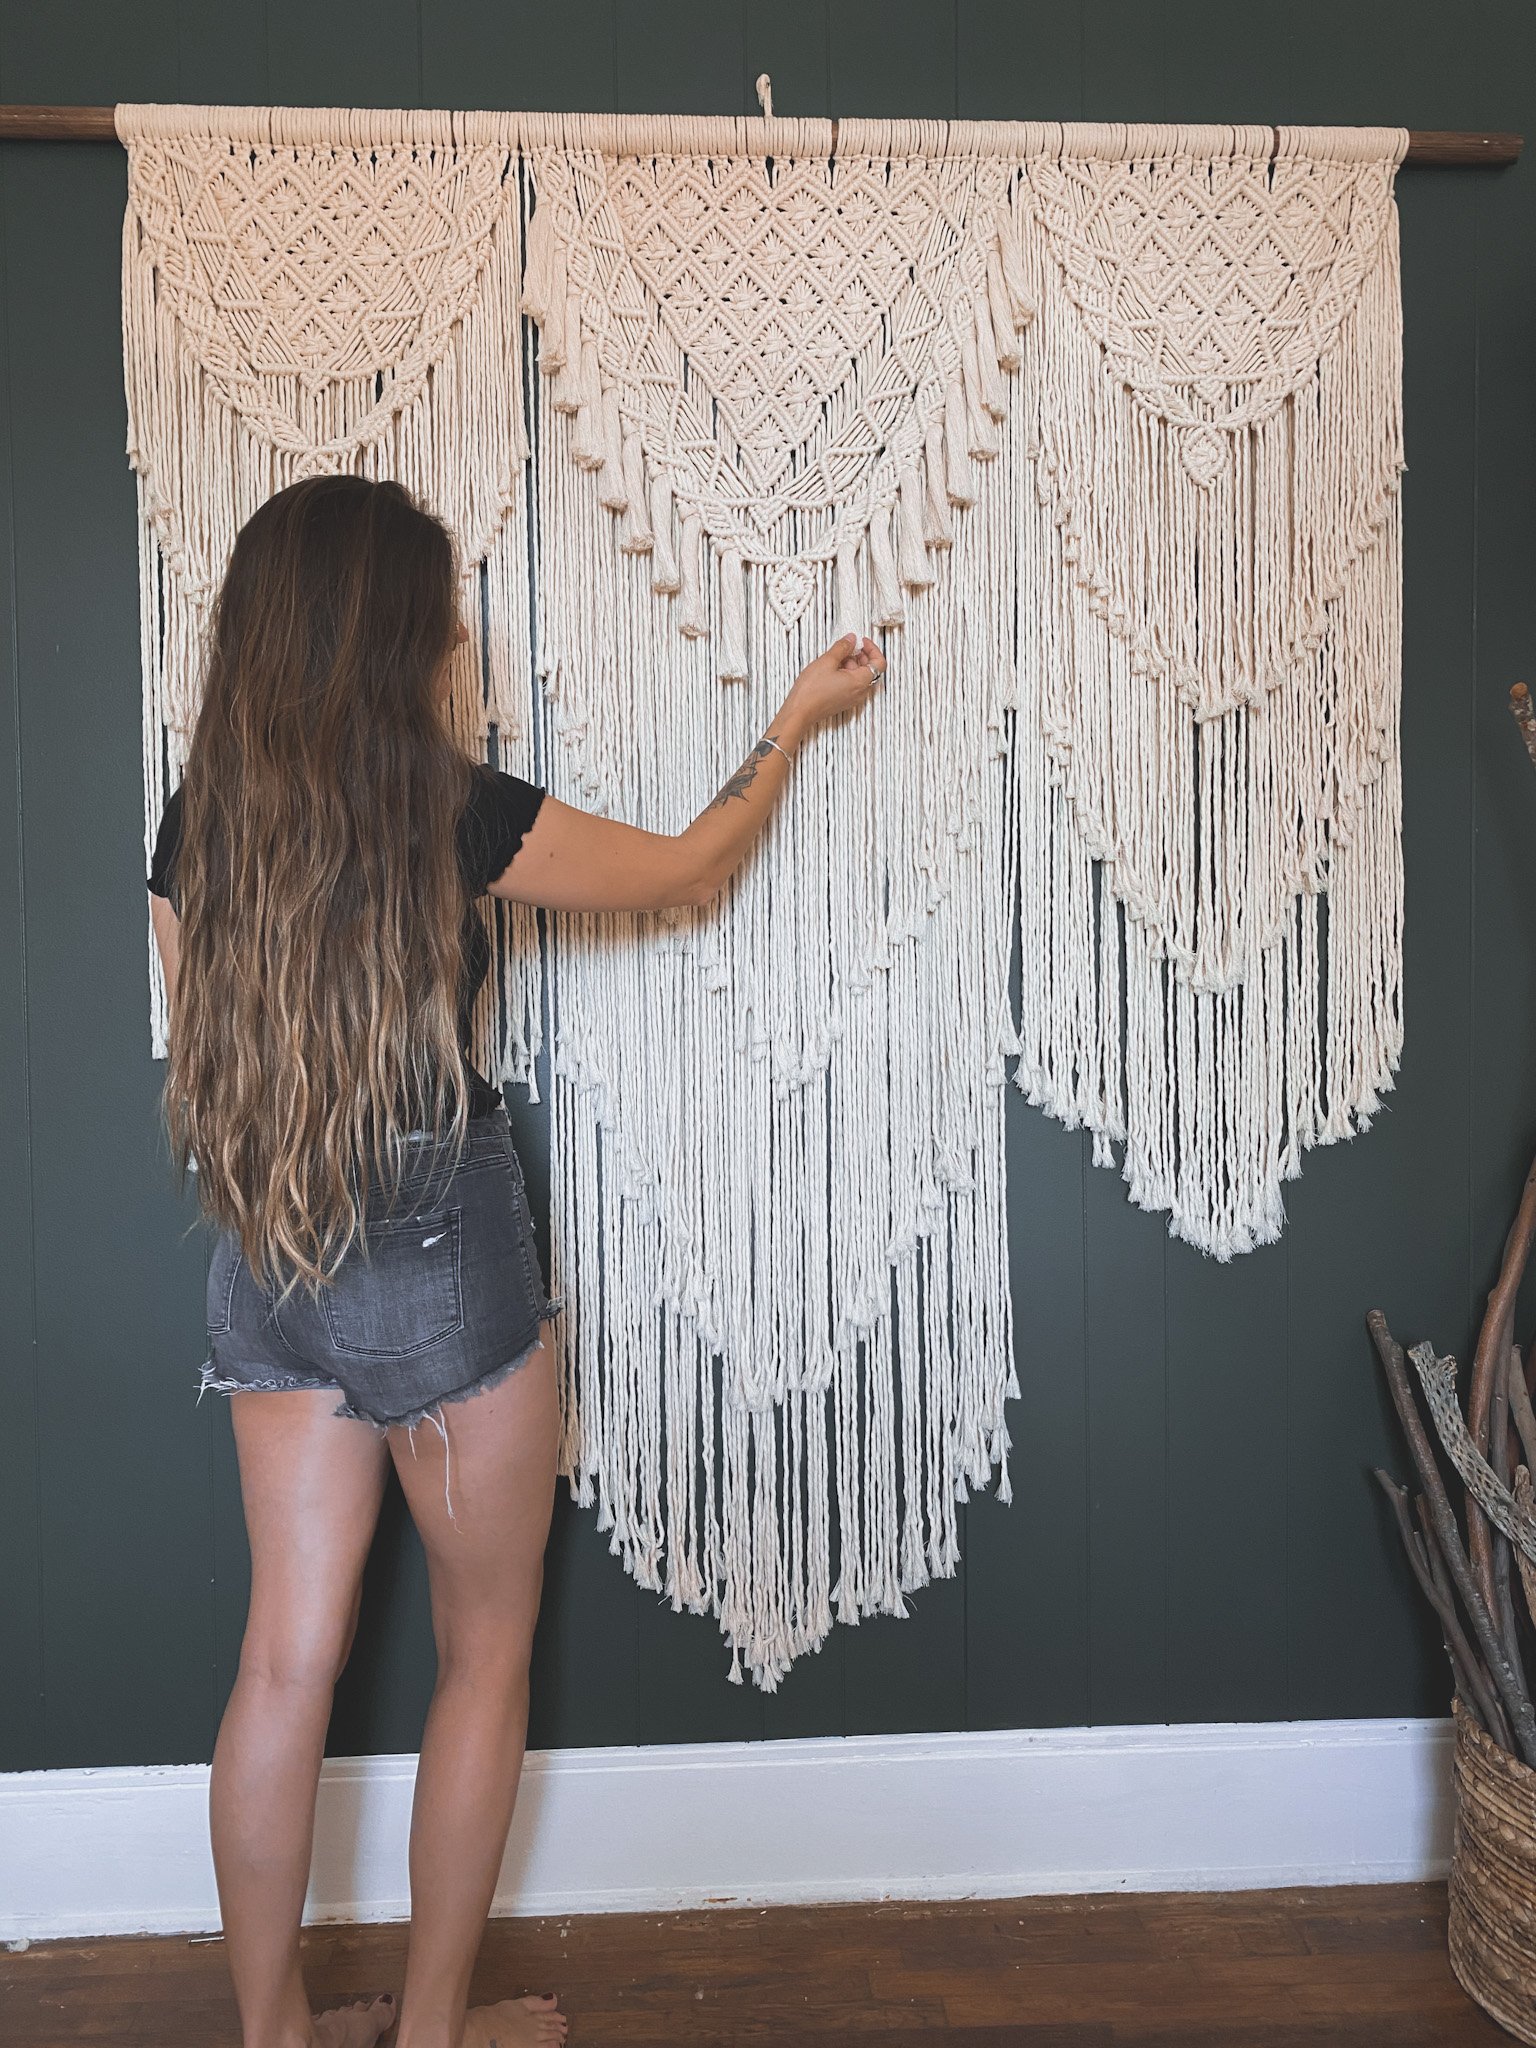
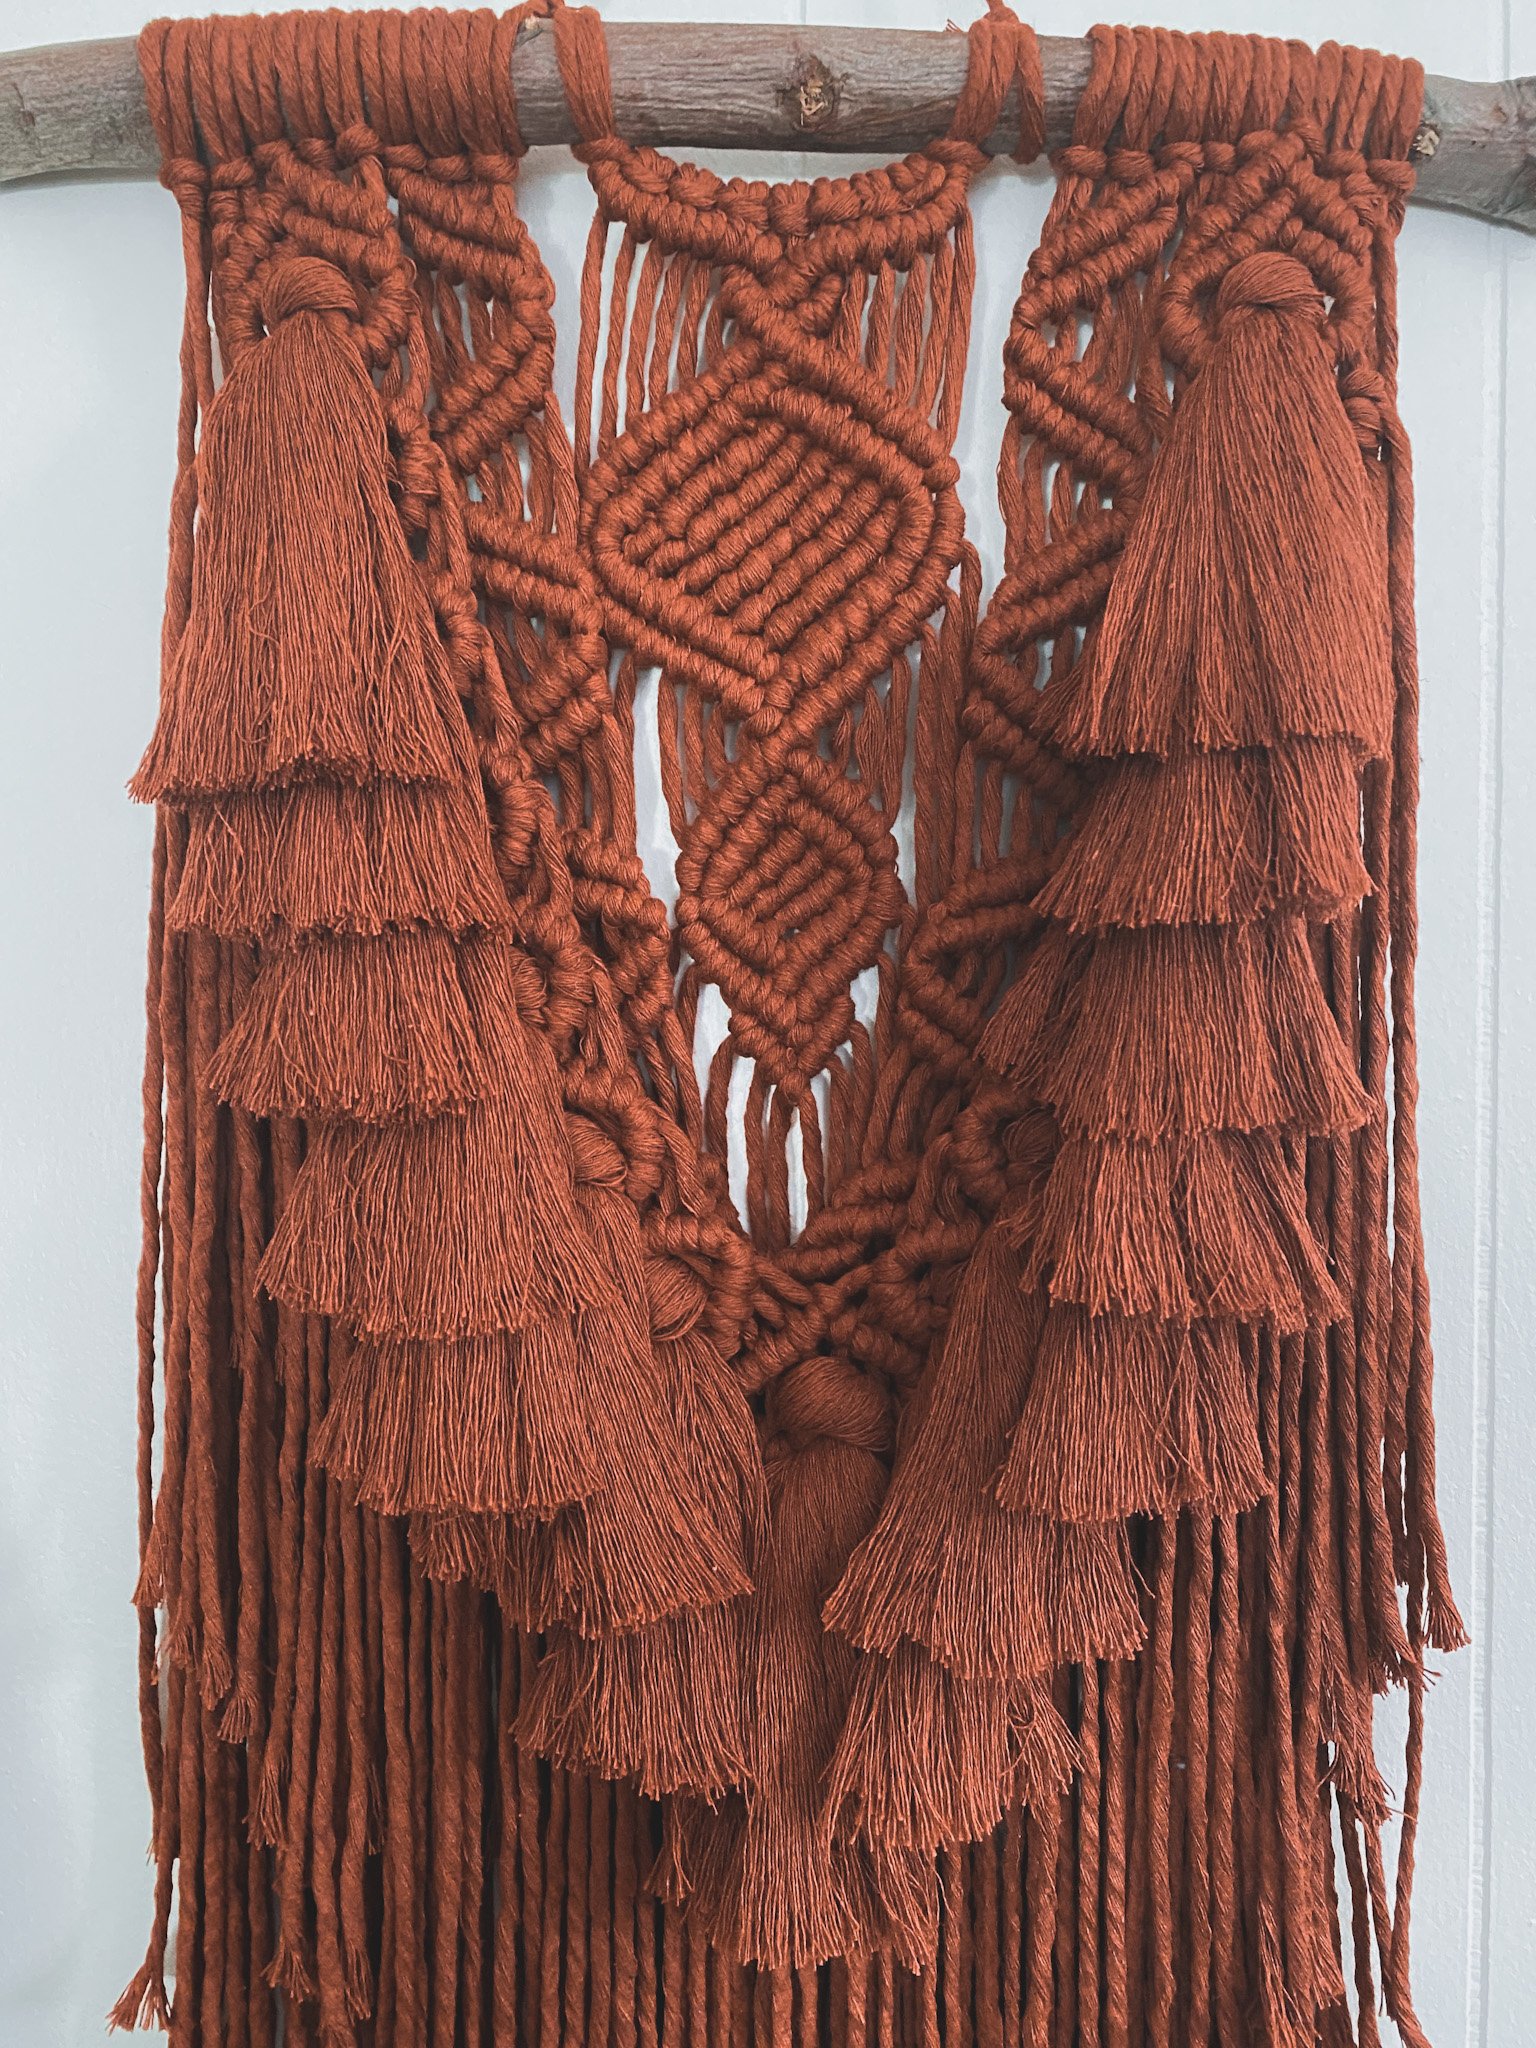
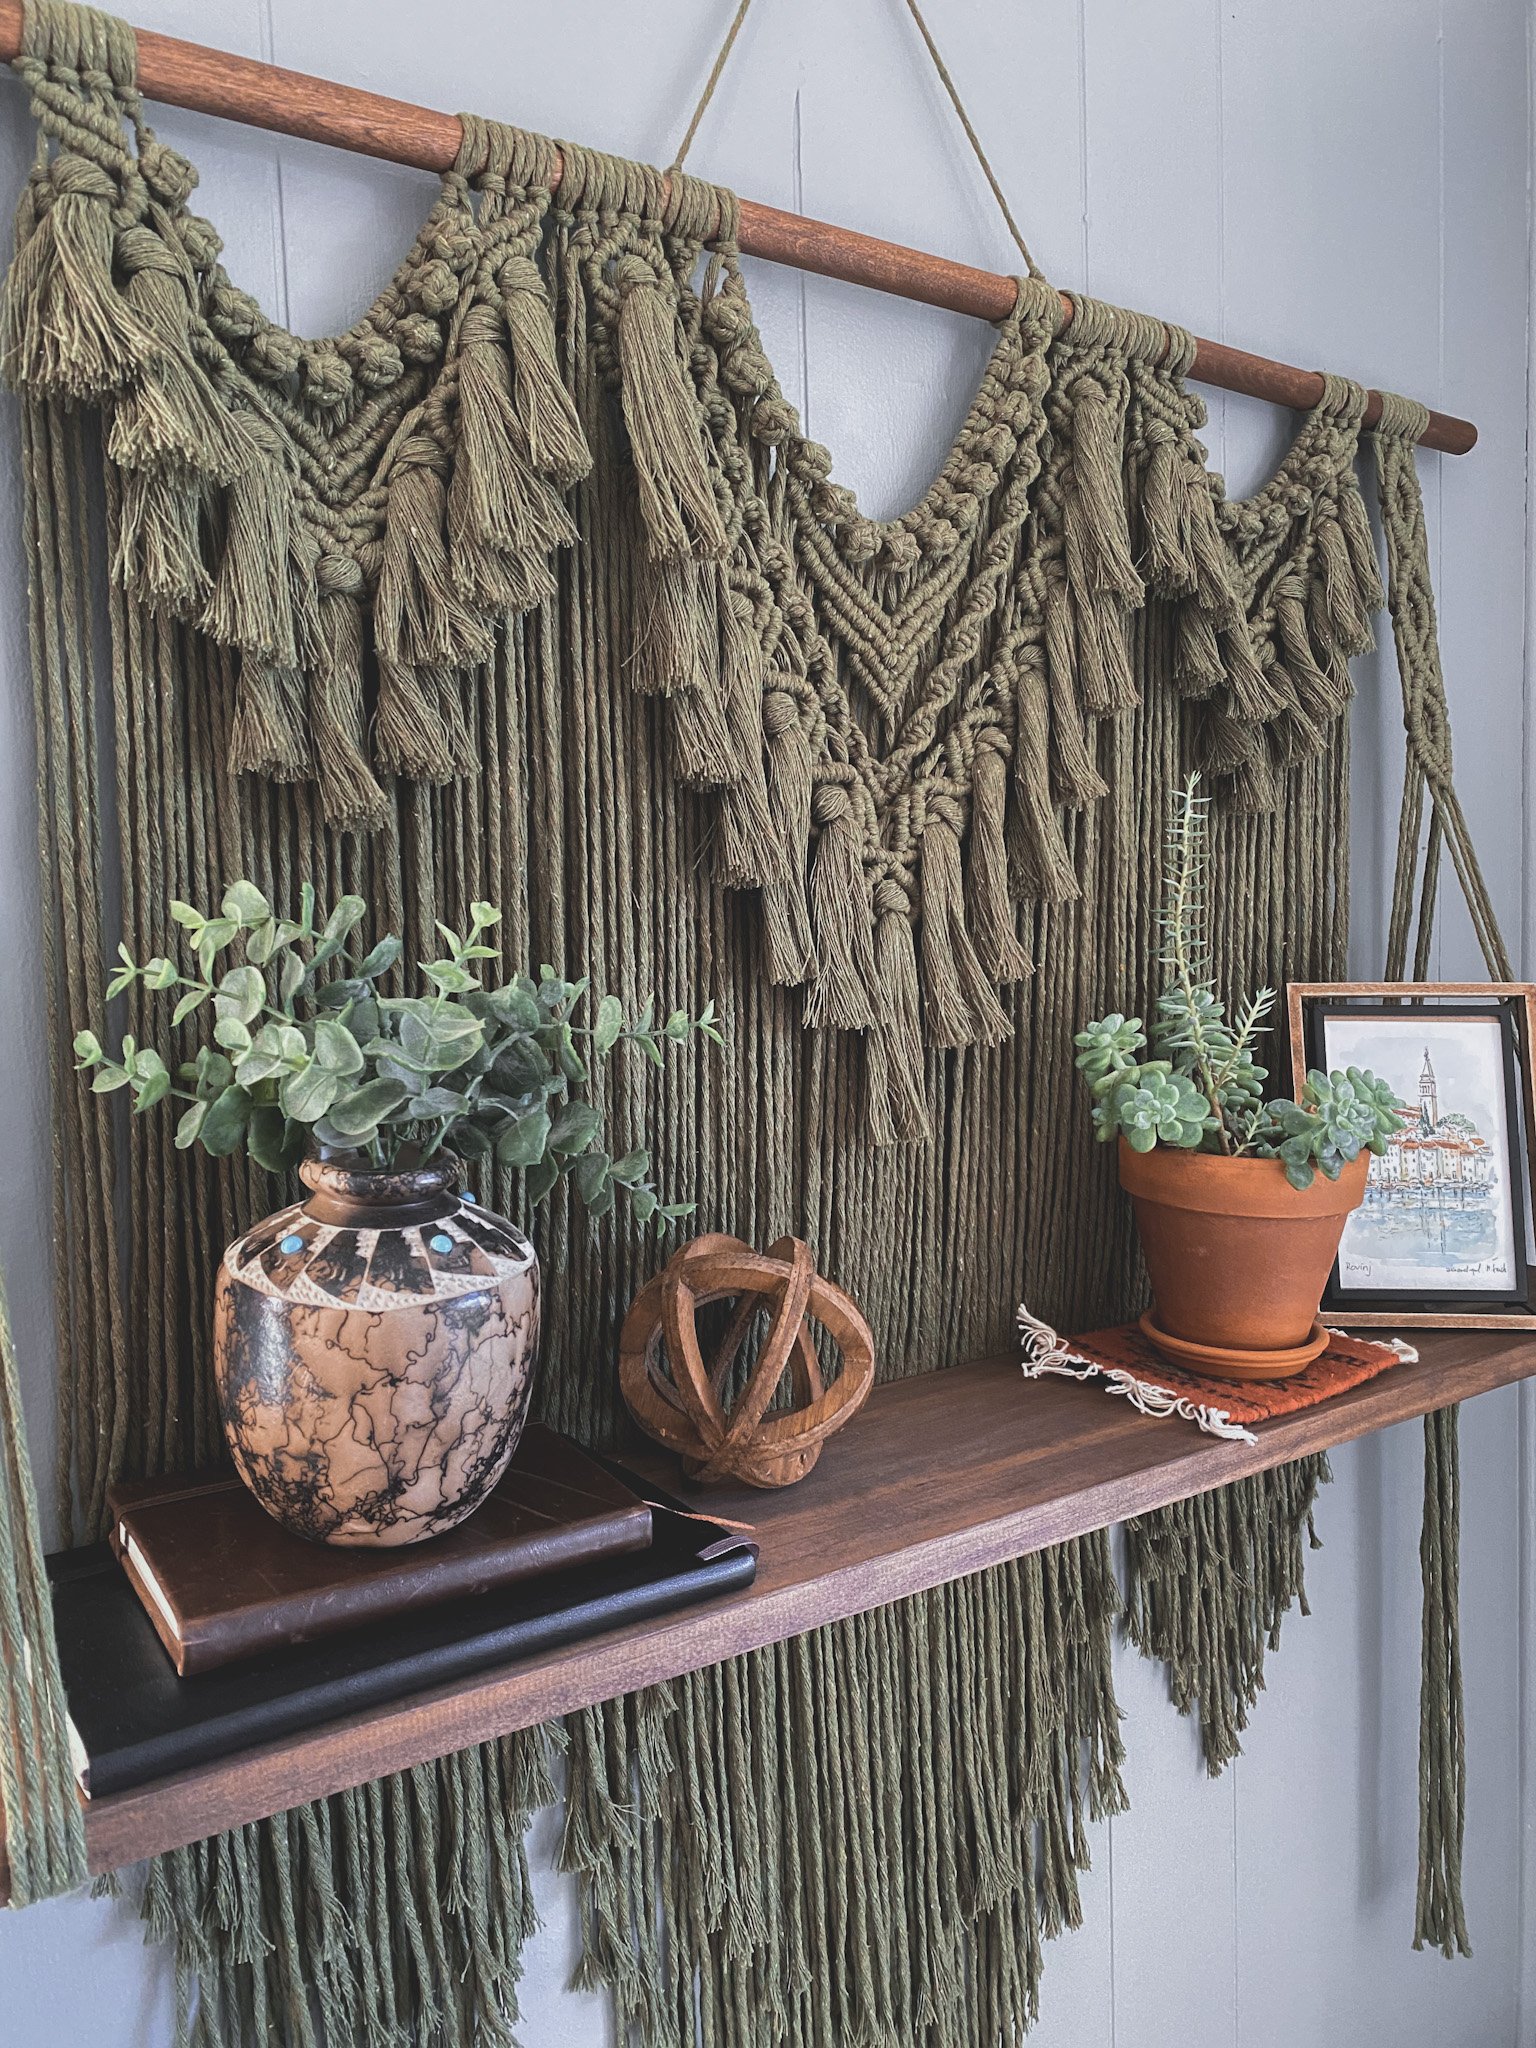
3. Next, you can’t make a wall hanging without a stick or a dowel rod to create it on.
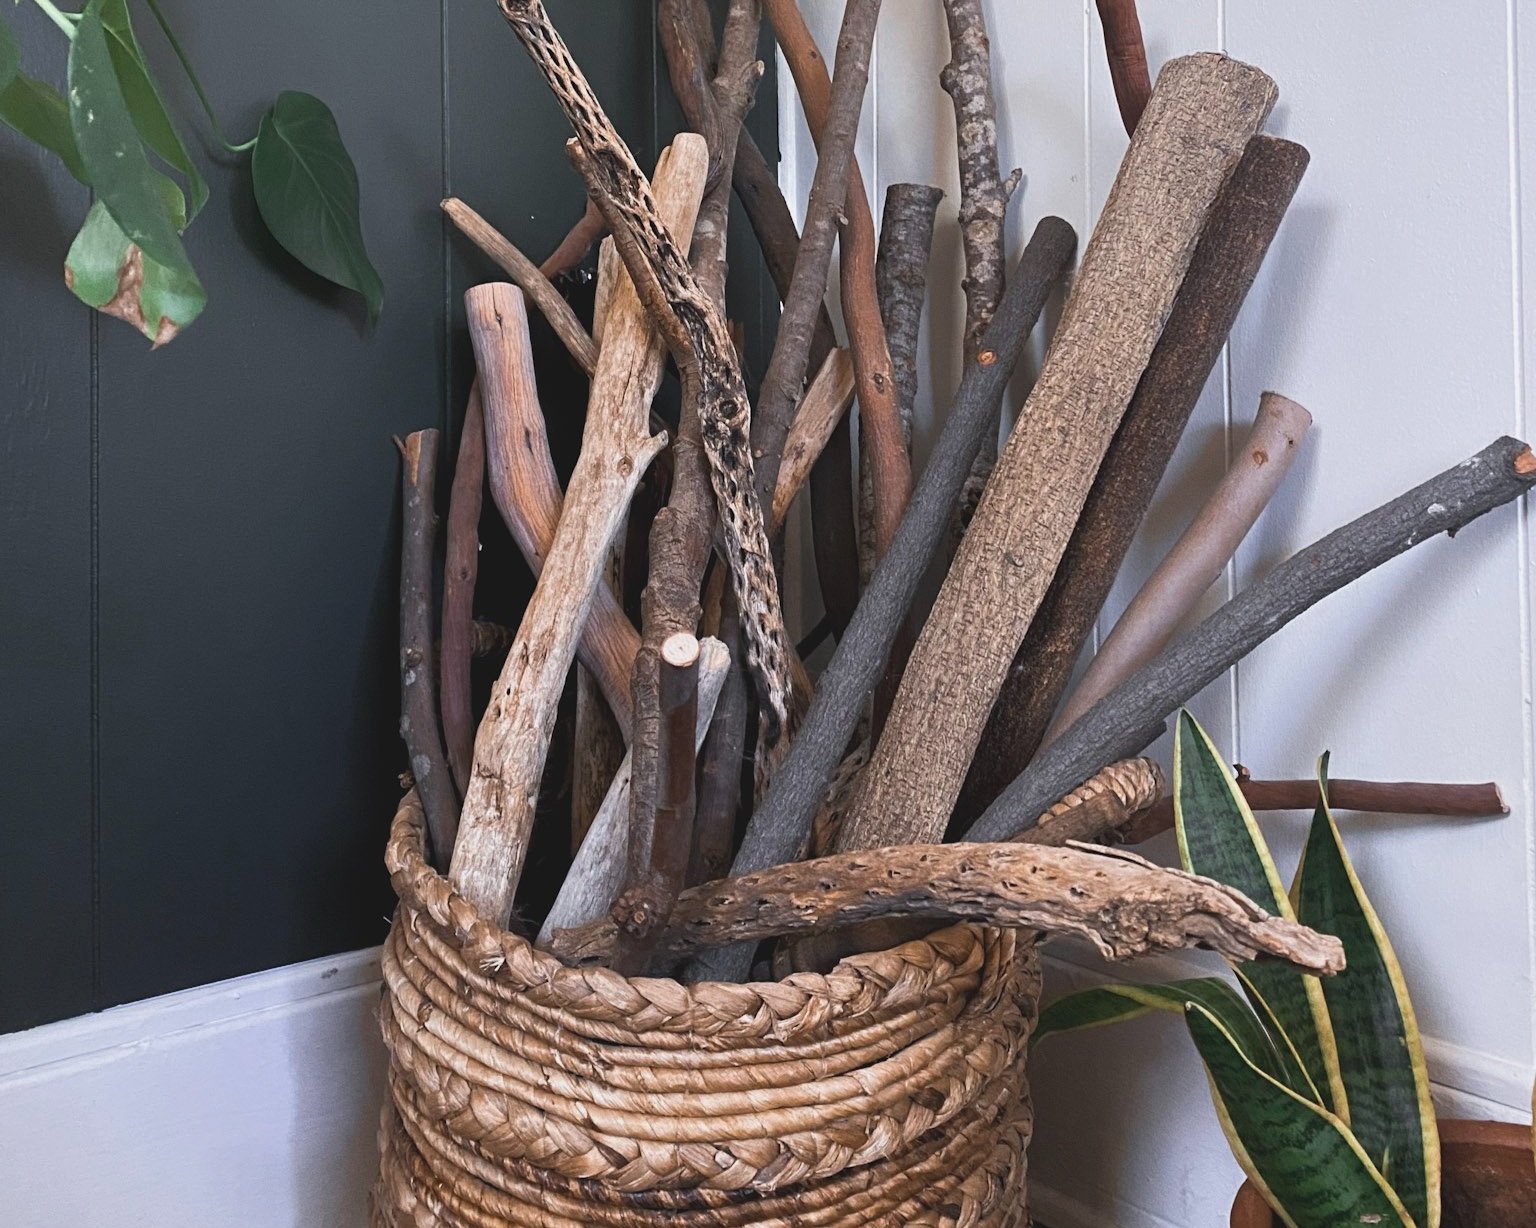
Personally, I like to go out into nature and find my own sticks. I prefer the raw and natural look of a stick for a wall hanging as opposed to the perfect uniform look that a dowel rod gives. Although, if I do want to create something uniform such as a wedding backdrop or a macrame shelf, then I will go to my nearest hardware store and purchase a dowel rod.
Below are some images of my work using both natural sticks and dowel rods.
4. It might be hard to create without a clothing rack to work off of.
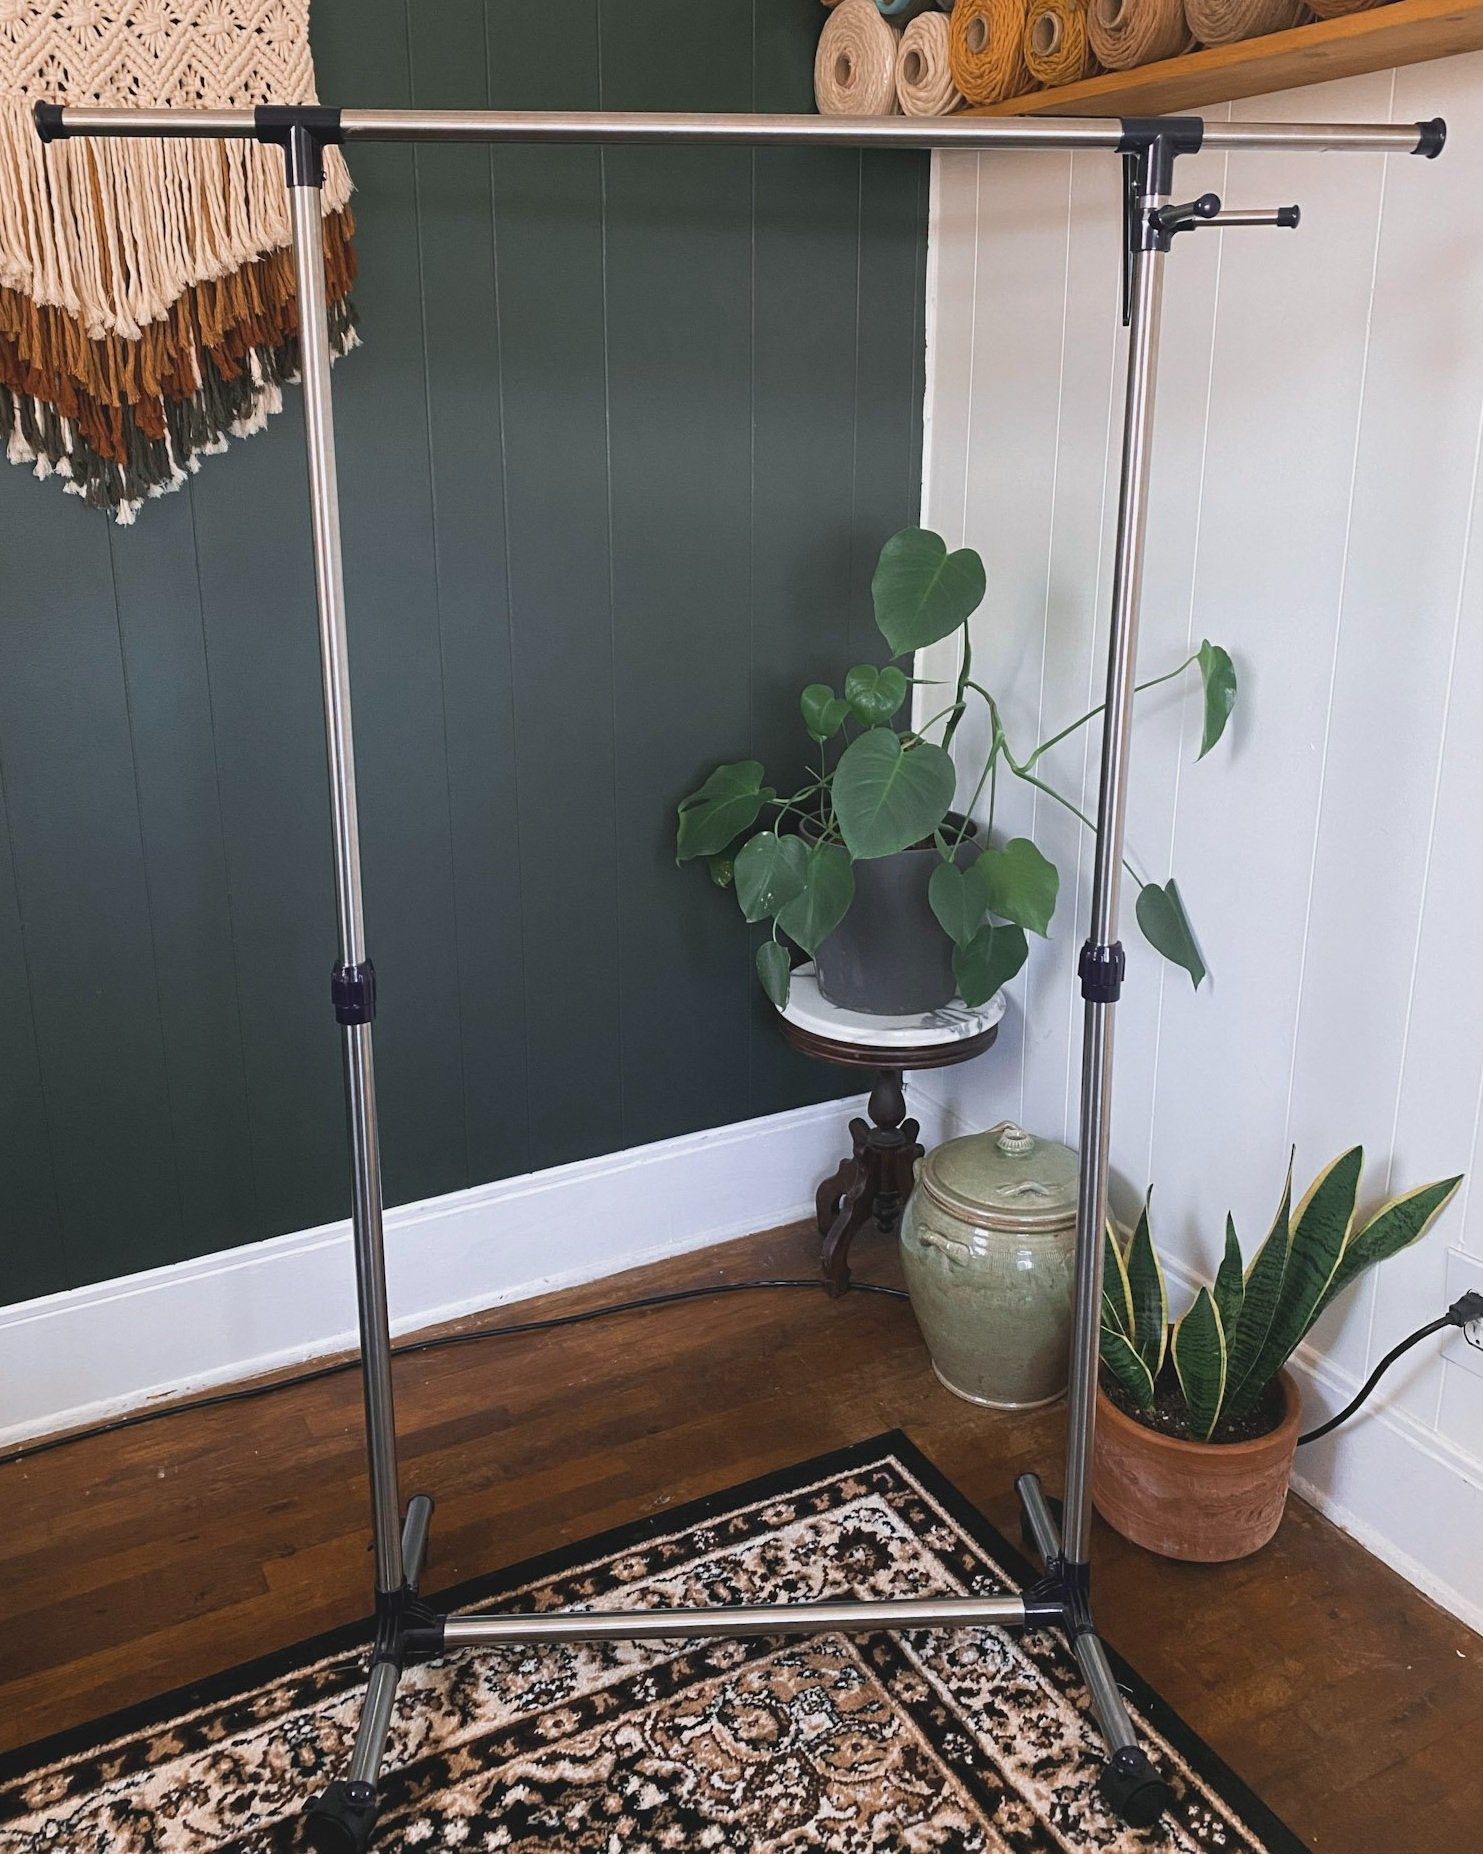
I know it’s kinda random. What does a clothing rack have to do with macrame? Well it actually works as a very convenient tool to build macrame creations on. It is portable and the perfect height to stand and tie knots on. When I first started I would tie my sticks to anything in the house and start knotting. As you can imagine, that made my creating space very limited; but hey, do what you got to do.
I bought this clothing rack back in 2019 and can’t find this exact model anymore, but here is the link to a very similar one.
Things to look for when purchasing a clothing rack:
Adjustable height. You will want the option to sit or stand when you are knotting your gorgeous creations.
Mobility. If you can find one on wheels, that will make it a lot easier to transport it from one room to the next. It’s not the end of the world if it doesn’t have wheels since clothing racks are rather light, but it is helpful when you have a wall hanging attached to it.
Sides that extend horizontally. It is so helpful when your clothing rack has the ability to extend to become wider, especially when working on a larger wall hanging or if you want to display a lot of items on it at once.
The ability to break down. If you are interested in transporting your clothing rack for either markets or workshops, you’re going to want one that will be able to break down and fit in your car. This is also helpful if you don’t want your clothing rack sitting around your living space.
Attached hooks. My clothing rack came with two hooks attached that I find super helpful when it comes to keeping my scissors and measuring tape close by. This isn’t necessary when purchasing a clothing rack though because there are always hooks you can buy to attach later.
5. “S Hooks” to prop your creations on while you work.

When I first got my coat rack, I would tie my sticks to it with rope. I did that for probably a year or so, but it would get really annoying having to untie it every time I wanted to move either the wall hanging or plant hanger I was working on. Using S Hooks have been so much more convenient. Make sure the hooks are large enough to hold a variety of stick shapes and sizes. I was unable to find a link for these, but you can purchase these at your nearest hardware store. I recommend getting ones with the hook width being at least 1.5in to fit on both your sticks and clothing rack pole.
6. A Dog Brush
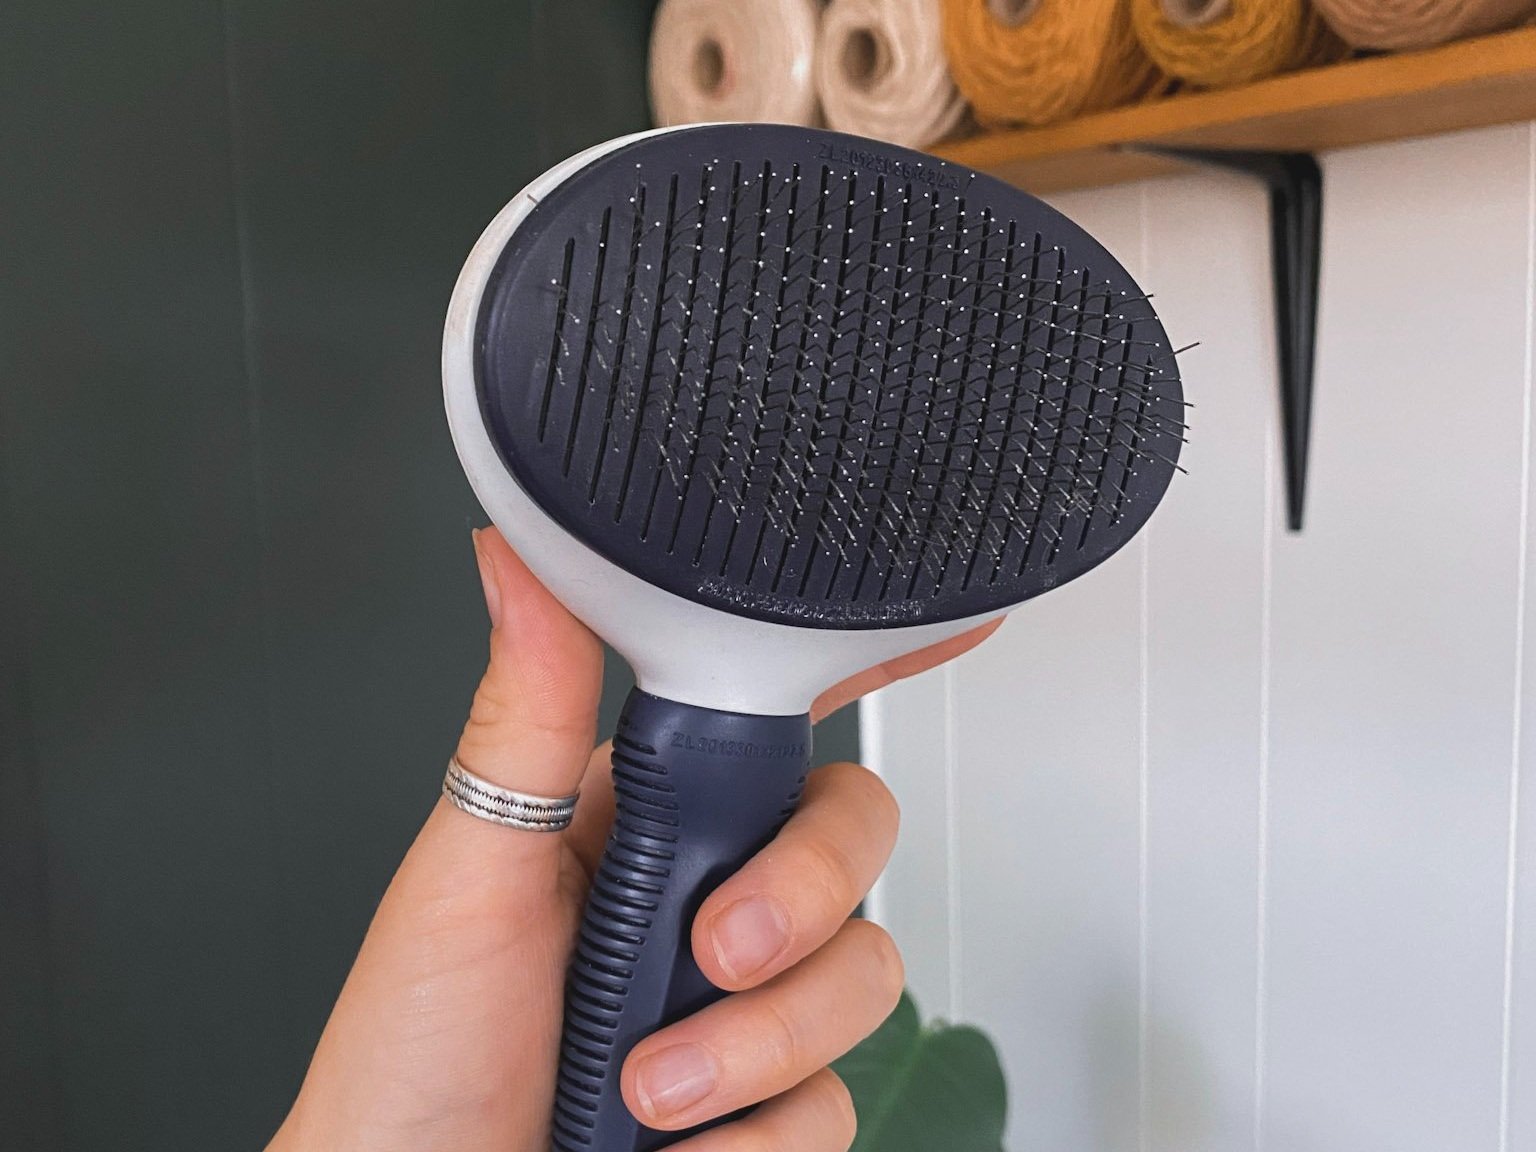
I have tried several different types of brushes to brush out fringe and tassels for my macrame wall hangings, and a dog brush as been the most effective so far! A regular hair brush doesn’t smooth out the fibers like you would hope and a comb is just too small for most tassels. The wire dog brush has been my favorite because it really separates and smoothes out the fibers fast. The ones with a button on the back are especially helpful when it comes to cleaning the brush off. When you work with different colored fibers on a regular basis the last thing you want is to brush red fiber remains into your fresh white tassels.

Trust me, measuring tape will make your life so much easier! As much I want to be an expert at eyeballing the amount of rope I am going to need, if I’m being real with myself, I am bad at it. A lot of the time I either cut too much or two little and am left either wasting rope or spending way too much time untying the knots I just made (and untying always takes twice as long). Of course you are going to make mistakes when you first start out, but if you keep track of the amount of rope you use, the next time you can add or take away some inches. Time is money and rope is expensive, so the more accurate with your rope cutting, the better.
I keep track of how much rope I need for certain patterns and creations in the notes app on my phone. It is so much more efficient to look at my notes and know exactly the dimensions I need to cut for the plant hanger or keychain I am about to make.
Well there you have it folks! The 7 must have items to get you started on your macrame journey! Please let me know if you have any questions!